Tag Archives: Burlap

Lamp Makeover {Thrift Benefit for Sheltered Animals}

Have you ever been on the hunt for a specific thing for months and months yet you can’t find just the right thing? 

Me too.

I’ve been searching for a lamp for my living room for almost two years.  Yes, years.

With our 20-foot ceilings, so many lamps just look tiny in this room.  So I needed something tall, sturdy (the cats were tipping over my old one until it was bent and cockeyed.) and, of course, stylish.

Of course, I could easily find ones I loved with ginormous price tags.  

Pass.

I could find great lamps at places like Target and Home Goods but there always seemed to be the issue of size and/or sturdiness.

Grrr.

Finally, I bit the bullet and bought a lamp from my beloved Pottery Barn during an online sale using a special discount coupon and free shipping offer.  

I was so excited!

Unfortunately, when the lamp arrived I discovered that the electrical cord was in a visible location and, therefore, very conspicuous from several angles.

Lamp returned.

Then, my sweet blogging friend, Jeannette from Country Design Style, asked me if I’d like to participate in her annual Thrift Benefit for Sheltered Animals blog tour.  

For the past three years, she has coordinated an effort to help spread the word about thrift stores that directly benefit animal shelters.  Her hope is that when bloggers share thrifted projects, it might inspire others to shop at stores that help animals in need.  (more…)

Share on facebook | Share on Twitter | Pin on Pinterest

Easter Silhouette Plates

We have had so much ice, snow and sleet lately that I nearly forgot it’s March!   That means that Easter is right around the corner.  What?!

When I created my Easter Mantel last year, I made some little bunny silhouette plates but, somehow, never managed to post about them here.  

These Easter silhouette plates are so easy it’s just crazy.
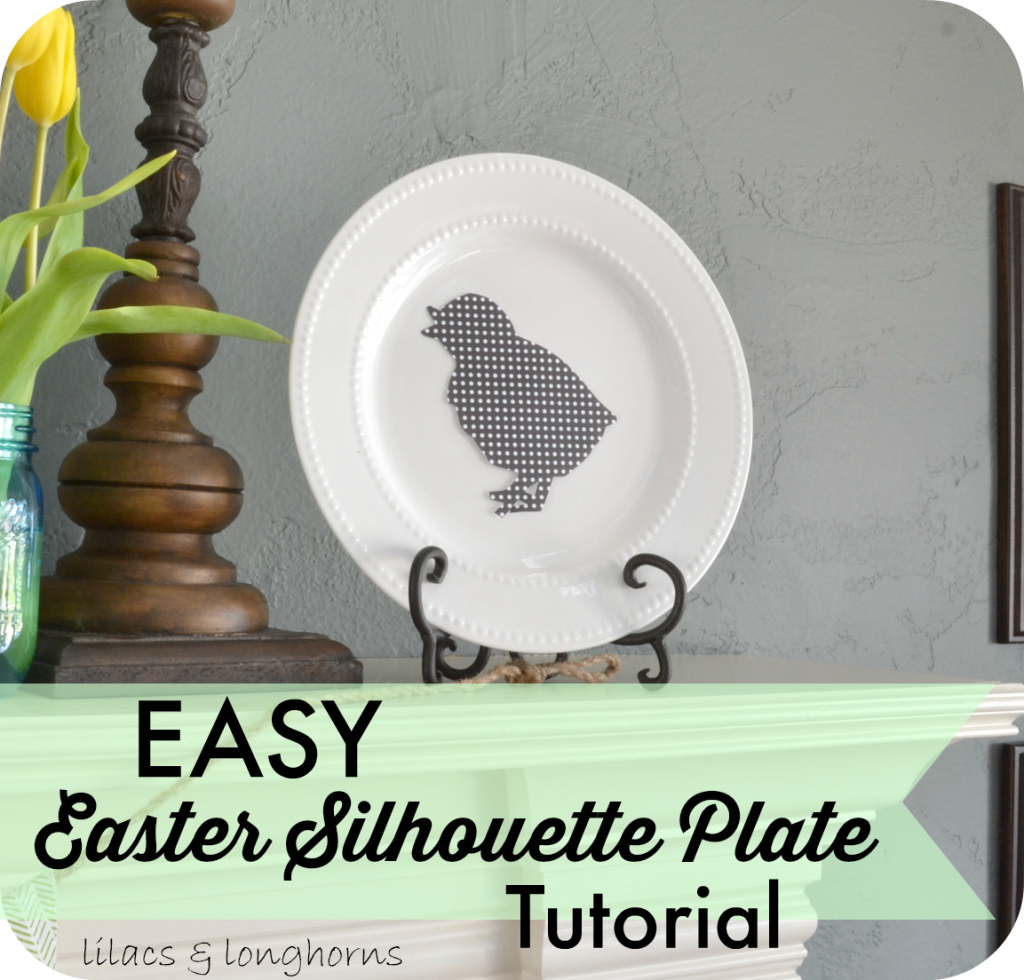
Easter-silhouette-plate-tutorial

(more…)

Share on facebook | Share on Twitter | Pin on Pinterest

Fall Burlap Art

This past spring, I discovered stretched burlap canvases.  They’re just like a regular canvas that you paint on except that they’re made of burlap.  They are great for all kinds of crafts.   

Now that it’s fall, I thought I’d try my hand at some fall burlap art:

fall burlap art

If you can draw or trace the shape of a pumpkin, you can do this easy fall craft.  It doesn’t require a huge amount of art skills…I promise!  

The trick to giving the pumpkin some depth is to use 3-4 colors of orange and 2 colors of brown.  It makes a big difference!

pumpkin final

Supplies:

  • burlap canvas
  • embellishments (faux floral, raffia, nail heads)
  • glue gun
  • craft paint and paint brushes

Directions:

  • using a pencil, draw free-hand or copy an outline of a pumpkin on to the canvas
  • fill in the outline with various colors of orange paint – use sweeping broad strokes to outline the “ridges” of the pumpkin
  • use a little brown paint to help define the ridges of the pumpkin — blend your paints together using the same brush for all the colors so the lines don’t come out too harsh  (don’t over think this…just use broad brush strokes in a half-moon motion and add paint as needed — feel free to layer and just paint over what you don’t like)
  • add a stem with brown paint.  I used 2 different browns to give the stem a little more depth
  • hot glue on the faux floral and raffia 
  • add nail heads to the sides of the canvas measuring an equal distance in between 

painting a pumpkin

The beauty of this kind of painting is that you really can’t go wrong.  If the pumpkin is too orange, add some brown or reddish orange.  If it’s too flat looking add more curved strokes of paint with some brown mixed with a darker orange.  Experiment!  The more you mix it up the better it looks!

Hint:  I used about 4 different colors of orange ranging from light orange, pumpkin orange and reddish orange.  I also used 2 different colors of brown.  Use the same brush for each color — let the colors mix and blend.

My first try looked a little flat to me when I was finished:

pumpkin v1

I wanted it to have more depth, so even after the embellishments were on I decided to add some brown to give it more definition.  

pumpkin final

Better, don’t you think?

Don’t be afraid to give it a try.  It really is fun!

I’ll be back tonight at 8 p.m. Central with another project and the Best of DIY link party.  

Best of DIY Link Party

Hope to see you then!

signature

Share on facebook | Share on Twitter | Pin on Pinterest

Burlap Canvas / Hometalk & Michaels Pinterest Party

I don’t know about you, but I am dying for spring to arrive.

Today, I created my own little piece of spring with this super easy burlap canvas craft.

burlap canvas art_1

It was sooo easy to make and it only took me about 30 minutes (details on the craft later).

My little spring-inspired burlap canvas is a part of a super-fun event sponsored by Michaels and Hometalk.  

Party Promo graphic

This Sunday, Feb. 16, I will be making my burlap canvas project at the Pinterest Party at the Michaels located in Keller, TX (2005 S. Main St.) from 1 – 4 p.m.  If you live nearby, I hope you’ll come and craft with me!  

If you’d like to come but don’t live nearby, no worries! 100 bloggers are participating in the nationwide Pinterest Party so you might find a party near you (there are even four Michaels stores in Canada that are taking part). Check this list to find your nearest participating Michaels location.

I hope you’ll meet us in the class room to make your own pin-worthy project.  Oh, and did I mention that you can win a $100 Michaels gift card?  Just follow Michaels on Hometalk for your chance to win!

Michaels-hometalk-giveaway3101

If you’ve never heard of Hometalk, you need to check it out!  Hometalk is a home and garden social network for anyone who loves all things home.  It’s a fun place to hang out, get inspiration, ask questions and get them answered, etc.  You can follow me there, too!


So…back to the burlap canvas I created.  Here’s what I used from Michaels to make my project:

craft supplies

                  • stretched burlap canvas
                  • letter stencils
                  • craft paint
                  • burlap ribbon
                  • silk flowers
                  • button
                  • wooden bird 
                  • hot glue

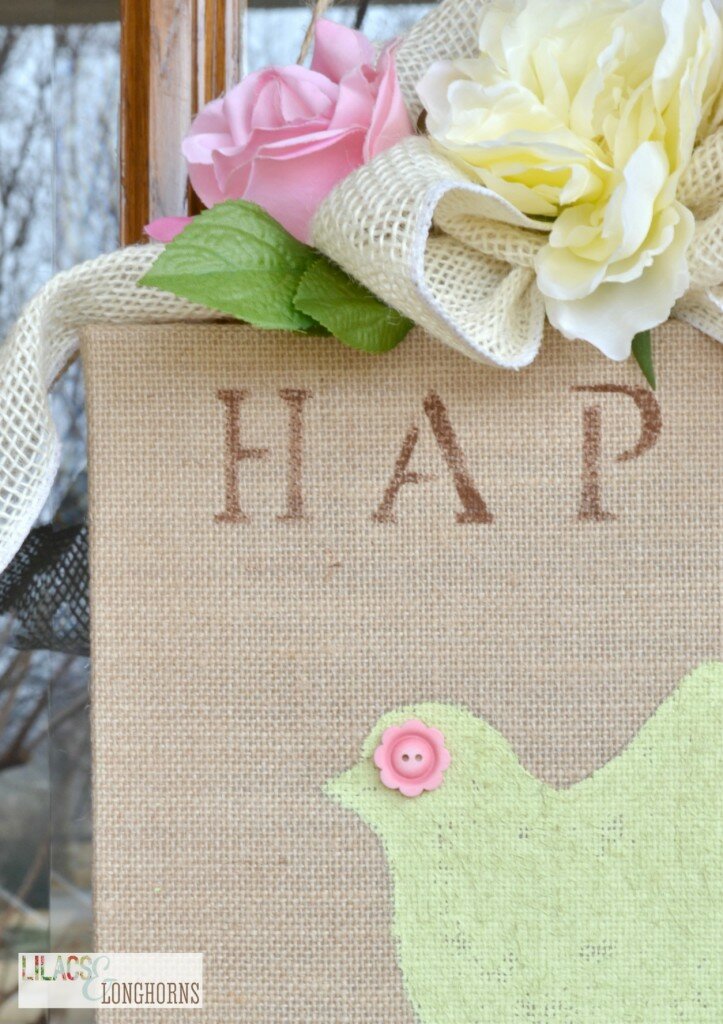
burlap canvas

I love how it turned out!

burlap canvas art_2

And, it was simple and easy.

If you can trace a bird, use a stencil and handle a hot glue gun, you can do this!

silk flowers

Directions:
Step 1:
Use stencils, craft paint and a foam pouncer to paint on the words. I didn’t measure or anything…I just winged it as I went along.
Step 2: 
Find a shape — like a bird, bunny, flower, etc. and trace it with a pencil on to the canvas.  Using craft paint, paint inside the lines.
Step 3:
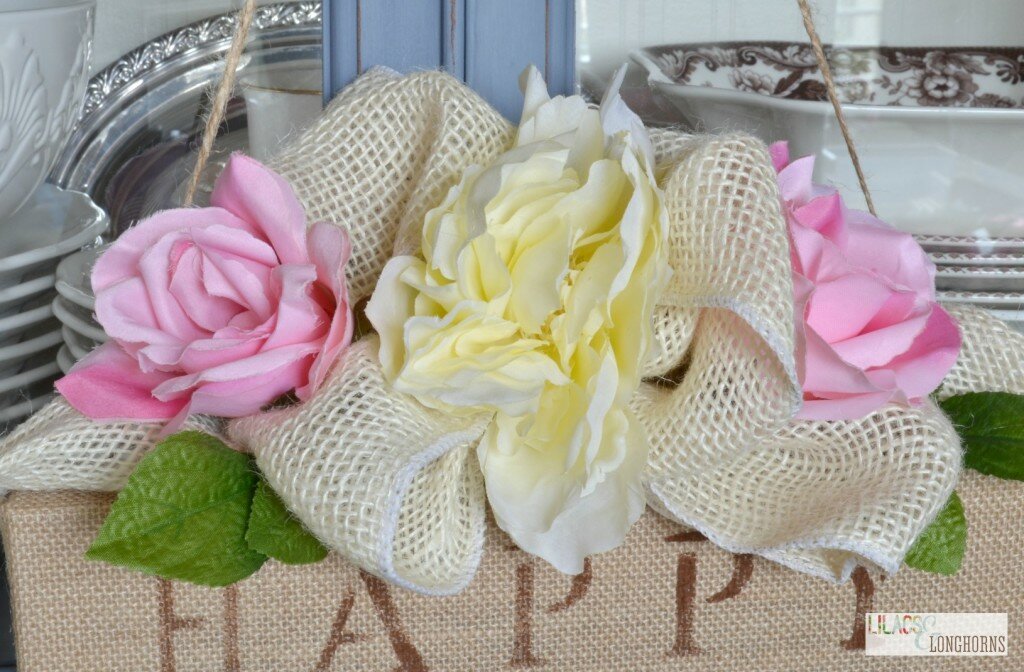
Make a bow with the burlap ribbon and hot glue it to the top of the canvas.
Step 4.  
Cut the heads off of some silk flowers and hot glue them in and around the bow.
You’re done!

Now, bring on Spring!!!

Hope to see you at Michaels!

Oh…and by the way, all of the participating bloggers and I will be posting our projects in a special link-up for you to see at the end of this week.  I can’t wait to share them with you.  I’m telling you, they are spectacular and you won’t want to miss them.

Thanks for reading!

signature

Share on facebook | Share on Twitter | Pin on Pinterest

Fourth of July Pottery Barn Knock-off {Tutorial}

I was browsing through Pottery Barn the other day and spotted these:

Pottery Barn Fourth of July burlap stars
 
I had seen them in one of the catalogs, but thought they were even more stunning in person.  They are much bigger than I expected…one is 16″ and the other 18″ in diameter!
 
They’re already sold out online.  In the store, I think the price was somewhere around $19 for the one I saw.
 
I immediately knew this was something I could create at home — especially because I already had everything I needed and wouldn’t need to spend any money.
 

My 8-year-old was up for the challenge and couldn’t wait to get started! (It’s nice having a helper!)
 
 
We began by making a paper prototype and then practiced folding some burlap to see if the fabric I had would fold nicely.  We quickly decided that making the chevron stripes and cuts might be a little more than we wanted to figure out, so we stuck with making a circle.
 
The first step: Cutting the fabric
 
 
When I did my paper prototype I came to the mistaken conclusion that I would need two individual squares of fabric.  Duh!  One long rectangle would have been much better.  I guess my brain is foggy from the rain and humidity!  
 
I cut two 18″ by 18″ squares, so if I were to do it again, I would cut an 18″ x 36″ piece of burlap.
 
Step Two:  Measure the stripes
 
 
I used a ruler to measure the distance between stripes so when I pinched the ends together to make a complete circle all the lines would match up perfectly.  
 
I found that measuring from the outside in worked best.  The center line needs to be dead center.  
 
Step Three:  Painting the Lines
 
 
My daughter decided to get creative and make a line consisting of circles.  It turned out to be the fastest, too!  Our tight-woven burlap really absorbed paint.
 
Also…our center line turned out to be way too thin and didn’t show up well when we folded and fanned the burlap.  I would recommend making this line at least three inches thick, maybe even four.
 
Step Four:  Bake and Eat Oatmeal Cookies!
 
 
Okay…this isn’t a necessary step, but this was the part where we let our paint dry and my daughter was dying to bake cookies, so we did! 
 
I’m only sharing this because the recipe was SO GOOD!!  
It’s from the blog, “Nine and Sixteen.”  You have got to try it!
 
Step Five:  Accordian Fold the Fabric
 
 
(My daughter is folding our test fabric here)
 
Try to get the folds as evenly as possible.  Our burlap held a crease pretty well, but I still ran an iron over it to make sure the creases held.  
 
Step Six:  Tie the Middle
 
 
I used a piece of twine to bind my middle together.  I cut off the excess and then moved on to Step 7.
 
Step Seven:  Hot Glue the Edges Together to Form a Circle


My daughter was at Art Camp when I did this step so I don’t have a picture of doing it, but you just pull your fabric so the ends meet and the fabric fans out to create a giant circle.  Watch your fingers because it’s very easy to burn yourself when doing this step!
 
Step Eight: Hot Glue Twine for Hanging
 
 
The best place to hot glue this is in one of the seams so try to do this at the same time as Step 7.
 
Step Eight: Hang and Enjoy!!
 
 
Even though mine is a circle and not a star, I think it’s every bit as cute as the Pottery Barn version.
 
You can see that I added a center circle because my paint line wasn’t very big.  I just painted and cut a piece of burlap and hot-glued it on to the front.  Easy!
 
 
I love it!
 
Thanks for reading,
Linking up to:
Savvy Southern Style
Marty’s Musings
The Shabby Creek Cottage
 
Share on facebook | Share on Twitter | Pin on Pinterest