Tag Archives: paint
Ugly Red Bathroom Update {One Room Challenge}
We bought our house 15 years ago when everyone was in love with dark reds, deep golds, browns and jewel tones. And, yes, I was on that dark color train, too. I’m sorry to say that I still have a room in my home that is stuck in that era. It’s a little embarrassing.
I have wanted to change it for ages but so many other things have stolen my attention so it just kept getting pushed to the way side.
Well, friends, I recently found that the bi-annual One Room Challenge hosted by Calling it Home starts today.
It is just the kick in the pants I need to get this bathroom updated and looking fresh and farmhouse-y — more like the rest of my house! I will have just six weeks to get my room done from start to finish. (more…)
Farmhouse Table Makeover & Happy Accidents
A few months ago I made over my farmhouse table.
It’s a table we have had for about 15 years and the very dark factory finish was in poor shape. I stripped the entire table and used a belt sander to help me remove some of the stubborn remaining finish. I knew I needed to use an orbital sander (which I don’t have) to get the wood looking new but decided that I would leave it as is because I kind of liked the rustic, imperfect look the belt sander created.
Here is what it looked like after Makeover #1:

And here’s what it looks like today:

POSTED IN: farm table, farmhouse, farmhouse table, makeover, paint, refurbish, stain, table
Lamp Makeover {Thrift Benefit for Sheltered Animals}
Have you ever been on the hunt for a specific thing for months and months yet you can’t find just the right thing?
Me too.
I’ve been searching for a lamp for my living room for almost two years. Yes, years.
With our 20-foot ceilings, so many lamps just look tiny in this room. So I needed something tall, sturdy (the cats were tipping over my old one until it was bent and cockeyed.) and, of course, stylish.
Of course, I could easily find ones I loved with ginormous price tags.
Pass.
I could find great lamps at places like Target and Home Goods but there always seemed to be the issue of size and/or sturdiness.
Grrr.
Finally, I bit the bullet and bought a lamp from my beloved Pottery Barn during an online sale using a special discount coupon and free shipping offer.
I was so excited!
Unfortunately, when the lamp arrived I discovered that the electrical cord was in a visible location and, therefore, very conspicuous from several angles.
Lamp returned.
Then, my sweet blogging friend, Jeannette from Country Design Style, asked me if I’d like to participate in her annual Thrift Benefit for Sheltered Animals blog tour.
For the past three years, she has coordinated an effort to help spread the word about thrift stores that directly benefit animal shelters. Her hope is that when bloggers share thrifted projects, it might inspire others to shop at stores that help animals in need. (more…)
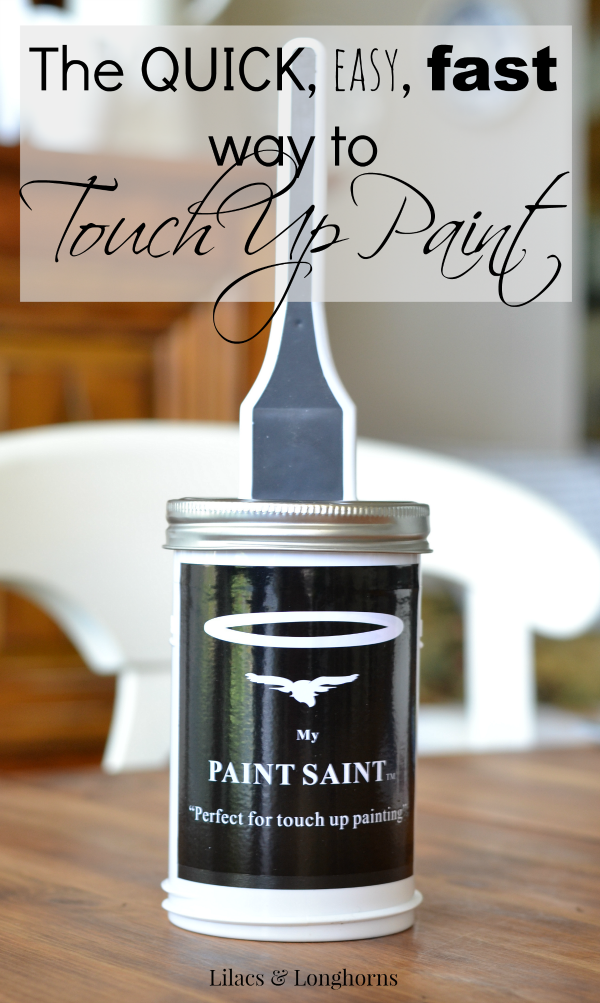
The Best Way to Touch up Paint
Why is it that some of the simplest chores are often the ones that are the biggest hassle?
If it’s a hassle, you end up putting it off or not doing it at all, am I right?
I have to admit that touching up paint was one of those chores.
Before I began repainting our home, the only way to touch up the paint in our house was to haul out a huge 5-gallon drum of paint left by the builder, summon my husband for help opening the can, use a long “egg beater-type” attachment to a drill so I could completely mix the separated paint and then finally touch up a spot or two.
When I painted over the builder paint, I was left with gallon and quart cans that didn’t require my husband’s help but there was still the hassle of cleaning the brush, the storage space dilemma and often discovering that the paint inside the can was dried up or unusable.
Fast forward to a couple of weeks ago when I received 3 cans of the “My Paint Saint.”

