Tag Archives: Fabric
Kitchen Chair Makeover {IKEA Gingham Fabric}
This week my kids went back to school and our relaxed daily schedule went out the window. Now we are all trying to get back to a regular routine and — I’ll be honest — it is hard!
Nonetheless, school is here and even though I miss our lazy summer days, I am a little excited to get back to work on some of the projects I started and/or planned before school ended in early June.
One quick project I managed to complete is my kitchen chair makeover. Well, it’s kind of a makeover.

I used BERTA RUTA fabric in grey from IKEA to recover the old leather seat. (more…)
POSTED IN: breakfast nook, chair makeover, Chairs, Fabric, gingham, IKEA, Kitchen, Reupholstery, vintage chair
The Easiest Way to Sew a Pillow
It may have been my very first up-cycle.
It was back in college in the late 80’s and I was moving in to an apartment with a roommate and we didn’t have much furniture. I don’t think we had more than a chair or two but I distinctly remember the two large floor pillows that I brought in to the mix. They were pink and green and they looked more “bedroom” than “living room.” I decided they needed a makeover.
I bought some inexpensive remnant fabric and made a couple of “slipcovers” for my pillows. In less than two hours, they looked like new. This was the first in many adventures of re-decorating.
From those first pillows in my college apartment to the pillows I make today, I am so grateful that I know how to sew. If you don’t know how to sew already, I think pillows are a great place to start.
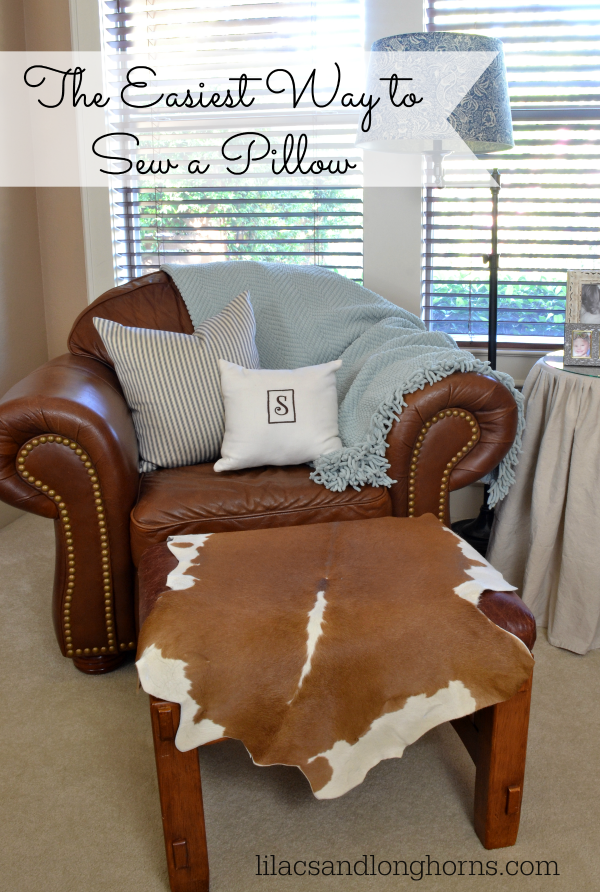
Today I’m showing you what I think is the easiest way to sew a pillow.
For today’s tutorial, I’m going to assume you already know how to use a machine. (And, please, I would love to know if you don’t know how to use one — if you’re interested in a basic “how-to” I will definitely try to put together a basic tutorial for using a machine.)
How to sew a simple knife-edge pillow:
Materials:
- pillow form
- fabric
- fabric scissors
- matching thread
- needle and thread for closing the opening
Directions:
1. Measure and cut the fabric —
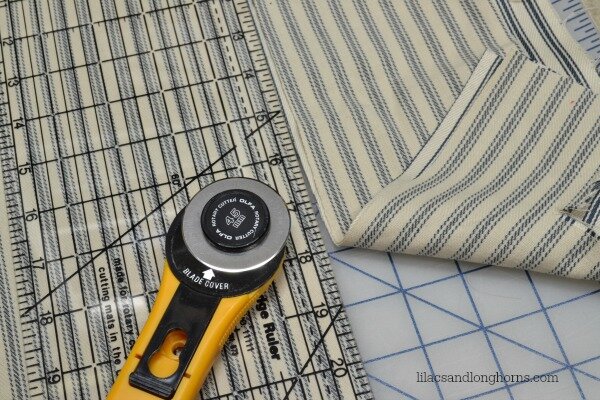
I don’t have this listed in my materials list because this is optional, but I’m going to tell you that I couldn’t live without this set. It’s a cutting mat, rolling cutter and straight edge or ruler. It’s actually for quilting, but I find it invaluable for creating perfectly square pillows — it’s a rotary cutting set. I lay out and measure my fabric on the cutting mat and then use the straight edge and rotary scissors to cut out a perfect square or rectangle. If my pillow is 20″ square, I cut out 21″ square to allow for a 1/2 inch seam allowance. Translated, that means that I will sew 1/2 inch from the edge of the fabric all the way around. Important: cut your fabric with the “right” sides of the fabric facing one another. Meaning, the sides of the fabric you want to be on the outside should be on the inside when cutting and sewing.
2. Pin the fabric — Using straight pins, I carefully pin — again — the right sides of the fabric together. And, because I am showing you the simplest way to sew a pillow I am only going to sew 3 full sides of the fabric. The wider the opening you leave to insert the pillow form, the easier it is to get that form in there!
3. Begin sewing —

Because I am leaving an opening to insert the pillow form, I don’t want my sewing to unravel in the process of inserting the form. Therefore, I always begin my seam by sewing for about a half an inch, then I back it up and sew back and forth over that same seam. I just do it once to reinforce that area so any tugging that occurs during the insertion of the pillow form won’t pull apart my stitches. On my sewing machine I have a little button that enables me to easily sew backwards.
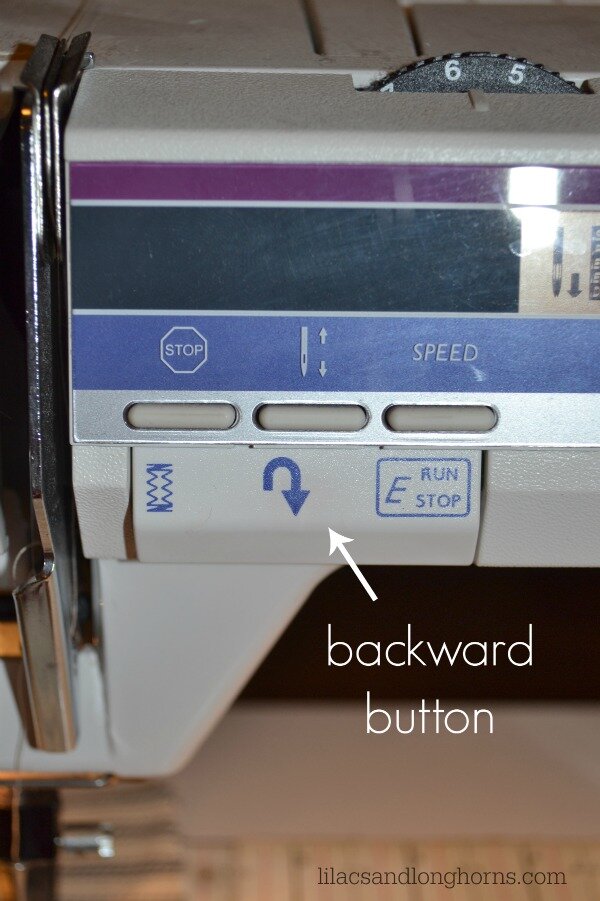
Each sewing machine is different, so refer to your owner’s manual if you’re unsure how to do this on your own machine.
I should also point here that it’s very important that you pay attention to your tension settings on your machine! Adjust the tension per your machine’s instruction manual for the type of fabric you are using. If you’re tension is off, your fabric could pucker or your stitches could be way too loose.
4. Trim the corners —
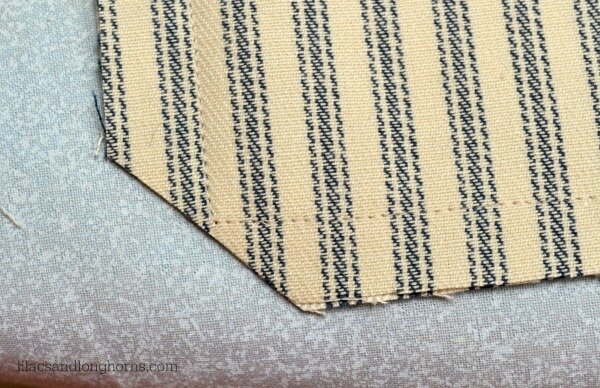
When you’re finished sewing you’ll need to trim the fabric from the corners of the square being very careful not to cut the beautiful seems you just sewed. Why are you doing this? Because trimming that excess fabric gets rid of the bulky fabric that would prevent you from having nice square pillow edges/ends. You can skip this step if you’re impatient, but your pillow will look so much nicer if you take this quick and easy step.
5. Turn your fabric right-side-out — Some people would iron/press their seems before they turn the fabric right-side-out but I don’t really find it too necessary with simple pillows. It really depends on the heaviness of the fabric, in my opinion so do it or don’t do it, it’s really up to you! Since it’s me, I just turn my fabric out and take good look to see that everything is in order. If it looks good then it’s time to move on to the next step!
6. Insert the pillow form — Yep, just put that pillow in just like you’re slipping it in to a pillow case. That’s it. Except for the fluffing and adjusting. Just fluff and adjust until it fits just the way you want it.
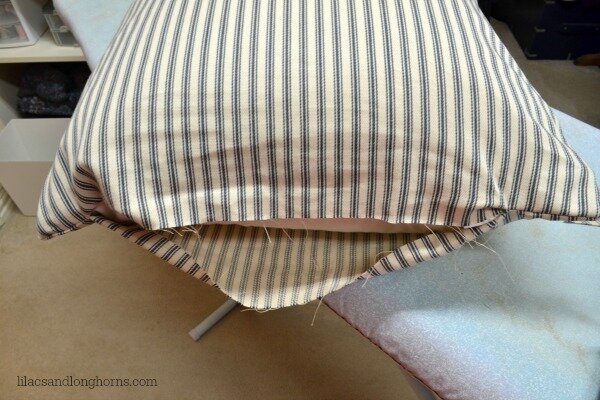
7. Sew the opening closed –– To sew the opening closed it requires that you know how to sew a whip stitch. Don’t be afraid of using a needle and thread. If you can sew a button, you can do this!
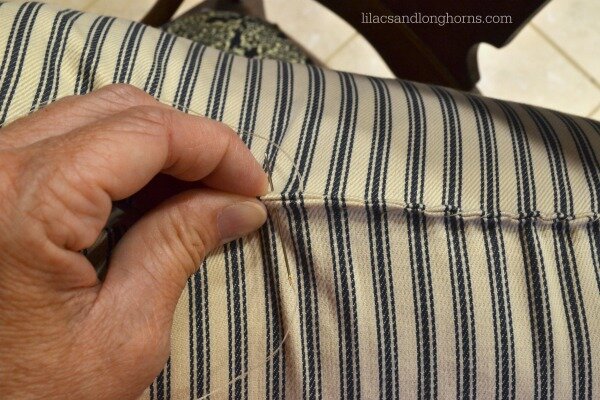
It’s a very simple stitch. Click here for a video tutorial I found on e-how.
When you’ve finished hand-sewing, you’re done! It really is so easy. I hope you’ll try it if you’ve never done it before.
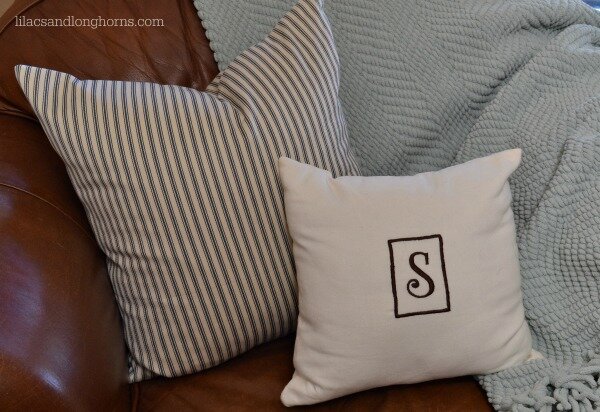
I think the results are so gratifying. I really love being able to make my own pillows. I get something I don’t see in stores and I can use all the fabrics I love in my home.
Happy sewing!

This & That
Life is slowly getting back to normal now that the chaos of our kitchen remodel is over.
School starts in just over a week so we’re feeling the call of the hustle and bustle — getting school supplies, new clothes and attending important orientation meetings for MIDDLE SCHOOL!
I can’t believe my oldest is going in to the 7th grade. Time is flying!
While all he wants to wear are soccer jerseys and tennis shoes, my daughter wants to buy almost everything she sees!
We scored a similar Vera Bradley insulated lunch bag for her this summer while shopping at the outlet in South Texas:
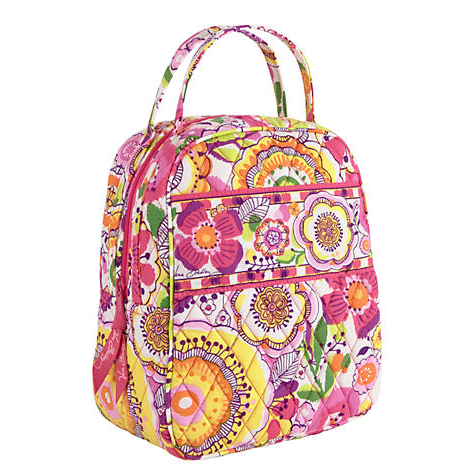
Hers is a different pattern since we bought it at the outlet, but she is in love with it! I think these colorful patterns are so perfect for her.
As I’ve been trying to style my kitchen with knick knacks and decorative things, I’ve been swooning over this super expensive fabric from Schumacher called Chaing Mai Dragon..the picture below is the mocha colorway:
I’ve seen it in all sorts of my favorite spaces, including this fantastic kitchen by my beloved Holly Mathis:

See the aquamarine color version sitting on the window seat?
Here’s a close-up of some pillows being sold on Etsy:
I just LOVE the bold colors in these pillows. However, I do not love the price. The fabric is $150 per yard – YIKES! And the pair of pillows above sell on Etsy for $185 and up depending on the size you choose.
Well, imagine my surprise when I saw this fabric at Calico Corners this week:
It is a VERY similar pattern called “Ming Dragon” and look at that price tag! $26.99! Whoa! When I asked a salesperson she told me that this was the only color it comes in but I’m holding out hope they might start making a mocha version. This blue is too light for what I’m looking for, but I wanted to pass this information to you. If you love Chiang Mai Dragon too, then go check out Calico Corners and save yourself some money! (I took the picture with my iPhone so forgive the blurry-ness.)
Finally, do you love great smelling lotions? When I was on vacation visiting my family in Minnesota, my daughter talked me in to buying this hand lotion:
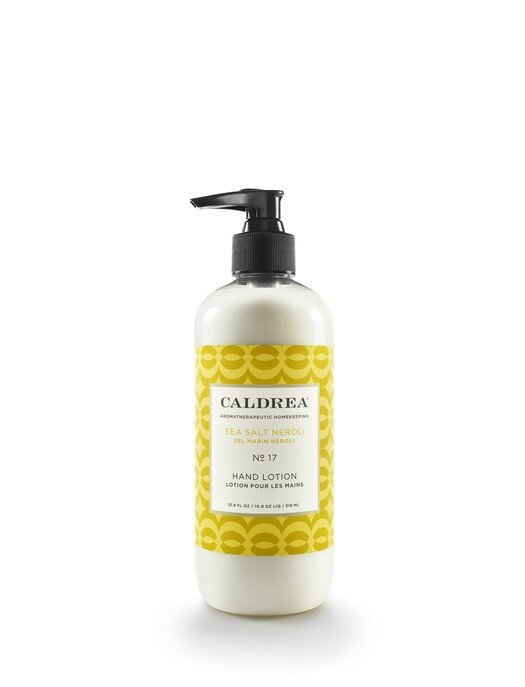
It’s fragrance is “Sea Salt Neroli” and I’m telling you it smells so wonderful! It makes me feel like I’m staying in a decadent hotel when I smell it. That’s kind of a funny explanation, I know, but have you ever been in a really high end hotel lobby and smelled the fresh flowers and whatever other expensive but lovely fragrance they have floating around? That’s what I think of when I smell this lotion on my hands.
I put it by my kitchen sink and use it after washing dishes. At $10.50 a bottle it’s a treat. Sometimes it’s fun to splurge on a bottle of hand lotion to make yourself feel pampered.
Here’s to hoping you have a wonderful and relaxing Saturday!

Sharing at: Savvy Southern Style



 Loading InLinkz ...


