Tag Archives: Sewing
The Easiest Way to Sew a Pillow
It may have been my very first up-cycle.
It was back in college in the late 80’s and I was moving in to an apartment with a roommate and we didn’t have much furniture. I don’t think we had more than a chair or two but I distinctly remember the two large floor pillows that I brought in to the mix. They were pink and green and they looked more “bedroom” than “living room.” I decided they needed a makeover.
I bought some inexpensive remnant fabric and made a couple of “slipcovers” for my pillows. In less than two hours, they looked like new. This was the first in many adventures of re-decorating.
From those first pillows in my college apartment to the pillows I make today, I am so grateful that I know how to sew. If you don’t know how to sew already, I think pillows are a great place to start.
Today I’m showing you what I think is the easiest way to sew a pillow.
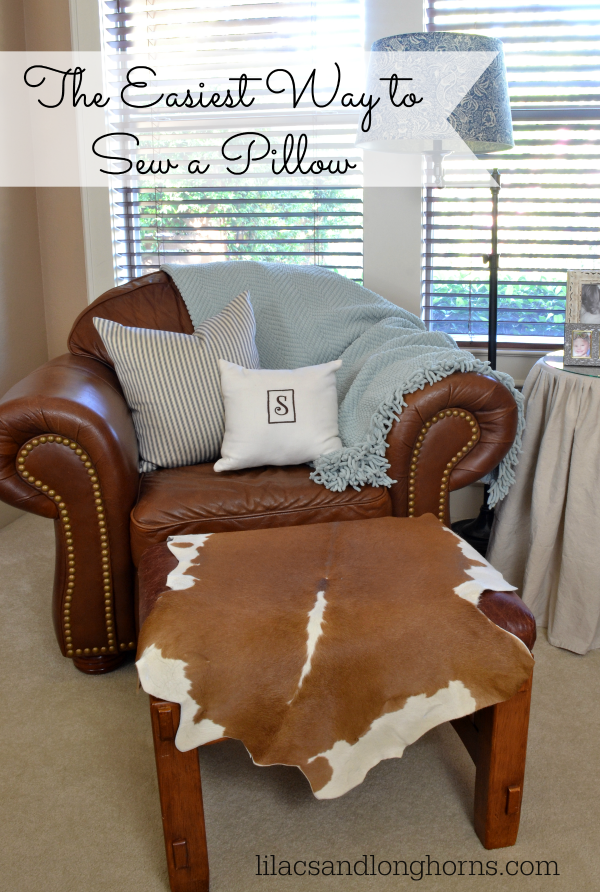
For today’s tutorial, I’m going to assume you already know how to use a machine. (And, please, I would love to know if you don’t know how to use one — if you’re interested in a basic “how-to” I will definitely try to put together a basic tutorial for using a machine.)
How to sew a simple knife-edge pillow:
Materials:
- pillow form
- fabric
- fabric scissors
- matching thread
- needle and thread for closing the opening
Directions:
1. Measure and cut the fabric —
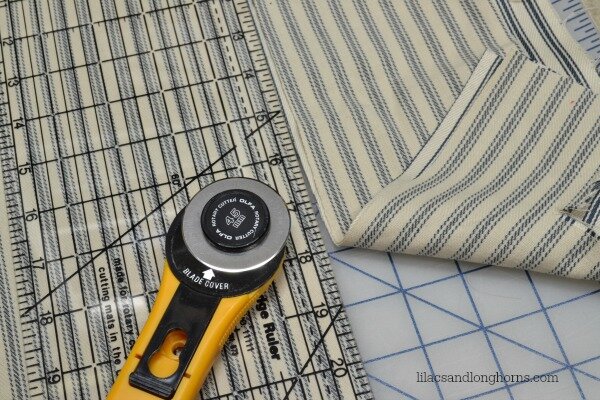
I don’t have this listed in my materials list because this is optional, but I’m going to tell you that I couldn’t live without this set. It’s a cutting mat, rolling cutter and straight edge or ruler. It’s actually for quilting, but I find it invaluable for creating perfectly square pillows — it’s a rotary cutting set. I lay out and measure my fabric on the cutting mat and then use the straight edge and rotary scissors to cut out a perfect square or rectangle. If my pillow is 20″ square, I cut out 21″ square to allow for a 1/2 inch seam allowance. Translated, that means that I will sew 1/2 inch from the edge of the fabric all the way around. Important: cut your fabric with the “right” sides of the fabric facing one another. Meaning, the sides of the fabric you want to be on the outside should be on the inside when cutting and sewing.
2. Pin the fabric — Using straight pins, I carefully pin — again — the right sides of the fabric together. And, because I am showing you the simplest way to sew a pillow I am only going to sew 3 full sides of the fabric. The wider the opening you leave to insert the pillow form, the easier it is to get that form in there!
3. Begin sewing —

Because I am leaving an opening to insert the pillow form, I don’t want my sewing to unravel in the process of inserting the form. Therefore, I always begin my seam by sewing for about a half an inch, then I back it up and sew back and forth over that same seam. I just do it once to reinforce that area so any tugging that occurs during the insertion of the pillow form won’t pull apart my stitches. On my sewing machine I have a little button that enables me to easily sew backwards.
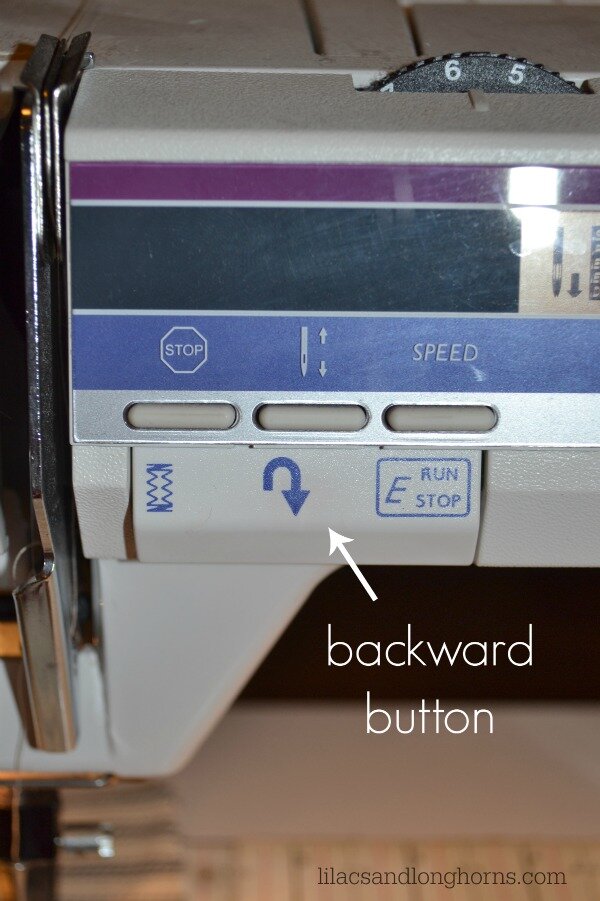
Each sewing machine is different, so refer to your owner’s manual if you’re unsure how to do this on your own machine.
I should also point here that it’s very important that you pay attention to your tension settings on your machine! Adjust the tension per your machine’s instruction manual for the type of fabric you are using. If you’re tension is off, your fabric could pucker or your stitches could be way too loose.
4. Trim the corners —
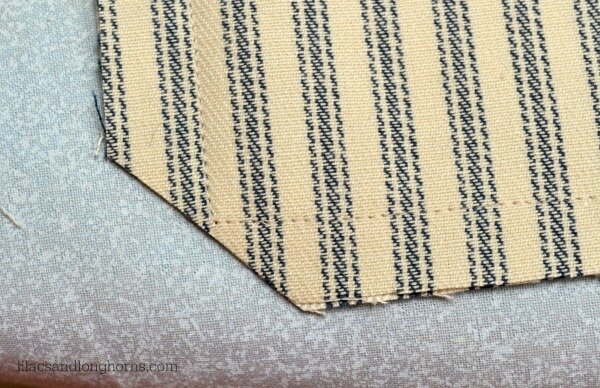
When you’re finished sewing you’ll need to trim the fabric from the corners of the square being very careful not to cut the beautiful seems you just sewed. Why are you doing this? Because trimming that excess fabric gets rid of the bulky fabric that would prevent you from having nice square pillow edges/ends. You can skip this step if you’re impatient, but your pillow will look so much nicer if you take this quick and easy step.
5. Turn your fabric right-side-out — Some people would iron/press their seems before they turn the fabric right-side-out but I don’t really find it too necessary with simple pillows. It really depends on the heaviness of the fabric, in my opinion so do it or don’t do it, it’s really up to you! Since it’s me, I just turn my fabric out and take good look to see that everything is in order. If it looks good then it’s time to move on to the next step!
6. Insert the pillow form — Yep, just put that pillow in just like you’re slipping it in to a pillow case. That’s it. Except for the fluffing and adjusting. Just fluff and adjust until it fits just the way you want it.
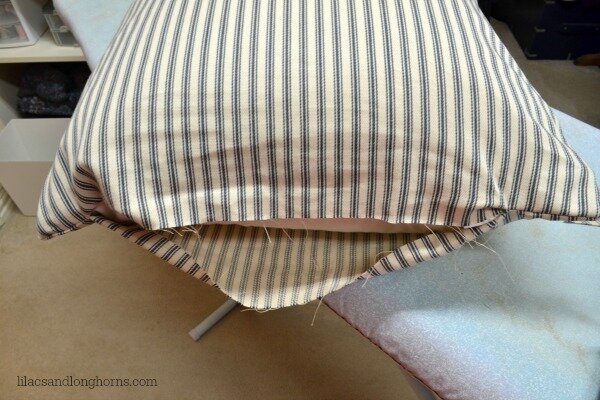
7. Sew the opening closed –– To sew the opening closed it requires that you know how to sew a whip stitch. Don’t be afraid of using a needle and thread. If you can sew a button, you can do this!
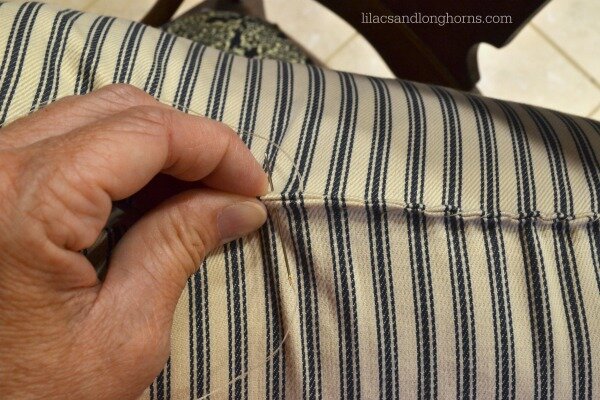
It’s a very simple stitch. Click here for a video tutorial I found on e-how.
When you’ve finished hand-sewing, you’re done! It really is so easy. I hope you’ll try it if you’ve never done it before.
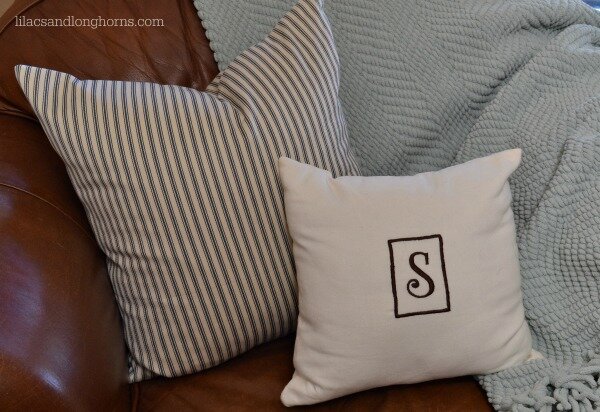
I think the results are so gratifying. I really love being able to make my own pillows. I get something I don’t see in stores and I can use all the fabrics I love in my home.
Happy sewing!

I Did It! {Reupholstering Cube Ottomans Tutorial}
When I revealed my living room re-do a few weeks ago I mentioned that I still needed to reupholster a pair of inexpensive cube ottomans I bought at Target. The sticking point was the fabric — how much yardage and the price point. I solved both dilemmas and just finished reupholstering them today — yay!!
Here’s the before:

And, here’s the after!

You’ll notice I didn’t put the button tuft in the middle like the before picture. I might still add that. I was undecided about it so I thought I would live with it like this for awhile and then see what I think.
The project took a little time and patience but I’m pretty happy with the result!
Here’s how I did it:
First, I had my husband help me take a couple of the legs off that were giving me a little trouble.


I decided to keep the old fabric on the piece and just add more batting over it. (On this piece it doesn’t hurt to keep the old fabric on, and it saved me the hassle of lifting off more staples.)
After it was dismantled, I added a new layer of batting (you wouldn’t have to do this step either…I did it because I felt the stool needed it).

Then I used some inexpensive muslin to make a pattern so I wouldn’t waste my expensive fabric.
I simply layed one large piece of fabric over the three sides of the cube and then pinned two end pieces and cut off the excess.


When everything was cut, I started pinning at the top by matching the stripes.

Here’s a better shot to see the extra fabric on either end to help me adjust for the pattern.


After it was all pinned up, I slipped it off the ottoman and sewed it together. I turned it right side out, then slipped it back over the ottman and trimmed off any excess fabric and started stapling.

When it was all stapled, I started making the welting that goes around the bottom to finish off the piece.
I used the old cord to measure the length I’d need to make. When laying it on the bias (the diagonal), it looked like I wouldn’t have to do any additional sewing – yay!


With the welting finished, I started stapling it around the bottom of the cube.


You peel back the fabric on one end of the welting and then match it up to the other cord so you can “join” the two together to make one continuous piece. Cut where the two pieces would join.

Then butt the two ends together and fold the excess fabric inward (as shown above) so you don’t have any fraying edges exposed.

Hold one end down as you fold the fabric and then staple the ends down so it forms one continuous piece of welting.

Once it was complete, I stapled the old black finishing fabric on and then screwed on the legs.
Done!


I saved myself about $100 by doing these ottomans myself instead of buying custom from an online store.
Whaddya think?!
Tatertots & Jello
It’s Overflowing
Thrifty Decor Chick
Redoux
Dining Chairs Re-do {Slipcover Love} & My Fabulous Deal
See these dining chairs?

They’re about to get a whole lot cuter!
I am finally ready to fix-up them with new, made-by-me slipcovers and today I’m going to show you my project inspiration.
Before I can do that, however, I need to tell you about my fabulous deal. (Because I just can’t resist sharing!)
This spring I scored a fantastic deal on this dining room table and chairs on Craig’s list. (I’m still doing a little happy dance about it because it was so awesome! No joke!)

I looked for a new dining room table for several months. I had specific criteria; it needed to be a bigger table than what we had so it could seat a lot of people, I wanted it to look rustic and charming, and the chairs needed to be comfy — preferably upholstered. But between the price of new, the dimensions I needed and the look I wanted it wasn’t coming easily.
And then one day the clouds opened, the angels started singing and I found this set on Craig’s List for $450. TOTAL. (Hear the angel choir singing?!) lol I swear to God I thought I heard angels singing — or maybe that was just me. Ha!
Of course, they need a little face lift because this fabric color is not my style at all…but just look at the good bones on these babies!

See any resemblence to this?


Yes, the legs on my chairs are different and, truthfully, a little curvier than I was hoping for but, my God, the price!!
The PB chair starts at $199 each and the Wisteria chair is $499 each.
Hello?! Even with the cost of fabric for recovering the chairs I am MILES ahead!
Take a closer look at my table.

Looks pretty similar to this one from Wisteria don’t you think?!

Wisteria price tag? $1999.00!
My table has rounded little curves on the ends which I wasn’t sure about at first when I saw it online, but in person it is a very beautiful piece of furniture and looks like it’s brand new. The woman who owned the set was meticulous. No lie. I mean, she helped us load it up as if it were her baby giving us extra blankets to protect it and she even emailed me after we left to make sure I got it home okay without any scratches!
Oh how I love finds like these. Even my husband, who is often skeptical of my Craig’s list and garage sale escapades, was a little stoked about this deal. He even called his parents to come over to see it. No kidding!
Okay…so I digressed a lot here. The point of today’s post really is to tell you about what I’m going to do with them. Because if I tell you what I’m going to do with them, then I really have to do it. (Smile)
I actually bought the fabric almost immediately after purchasing the chairs (it’s a plain white twill — super washable) and I started to make a slipcover. Then I got stuck.

I’ve never made a full slipcover before. I sort of did one once for a small upholstered rocking chair in my daughter’s room but that was a little different. I was able to tuck some pieces in and do some stapling here and there to make it look like a full slipcover or upholstery job.
Since I got stuck a couple of months ago I have let the chairs sit. They have waited while I thought, researched, changed my mind, and then thought some more.
But, today, on Pinterest I found this:

(Cue the angels singing again.)
When I went to the site where this picture came from and I found more great pictures:


