Tag Archives: Annie Sloan
Favorite DIY Projects of 2013
Christmas is over and I’m itching to get started on some new projects. But, first, I wanted to go back to see a little of what I accomplished in 2013.
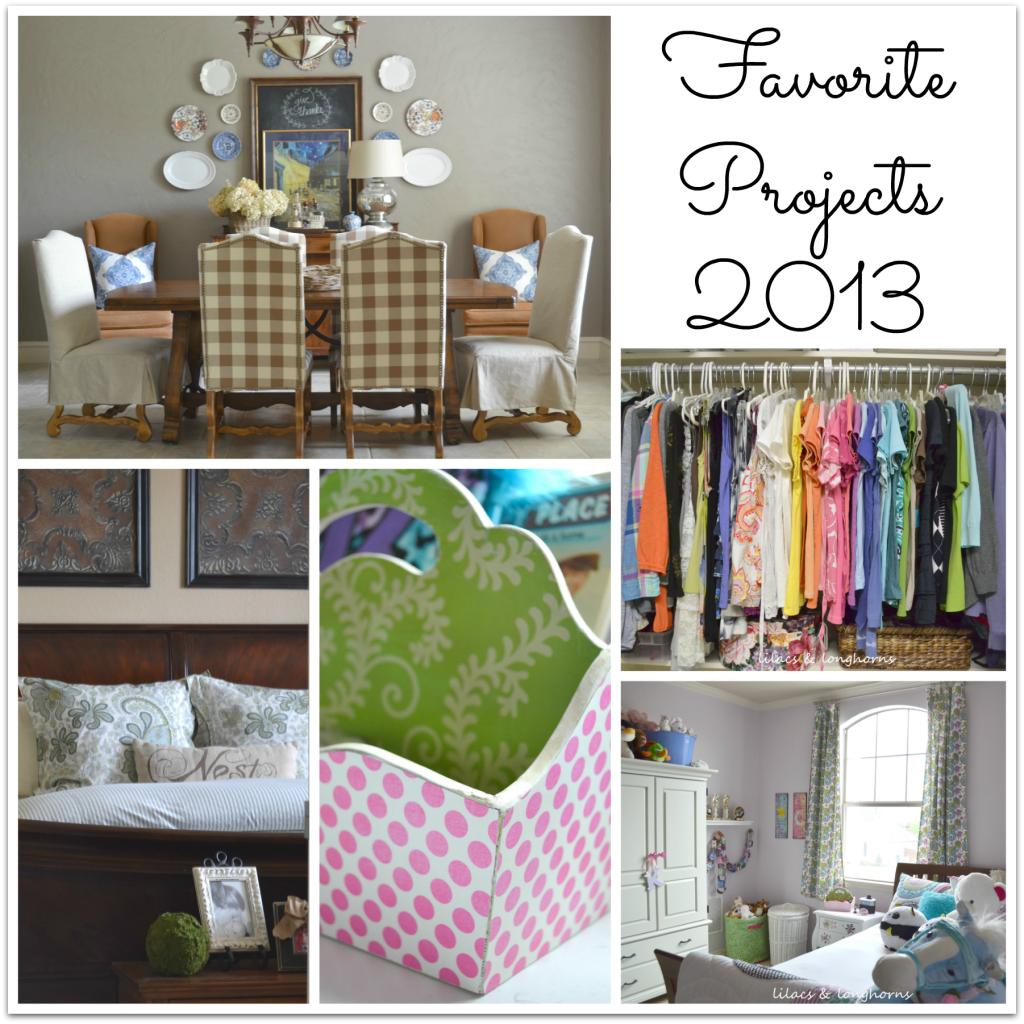
Here’s a quick re-cap of some of my favorite makeovers and projects this past year:
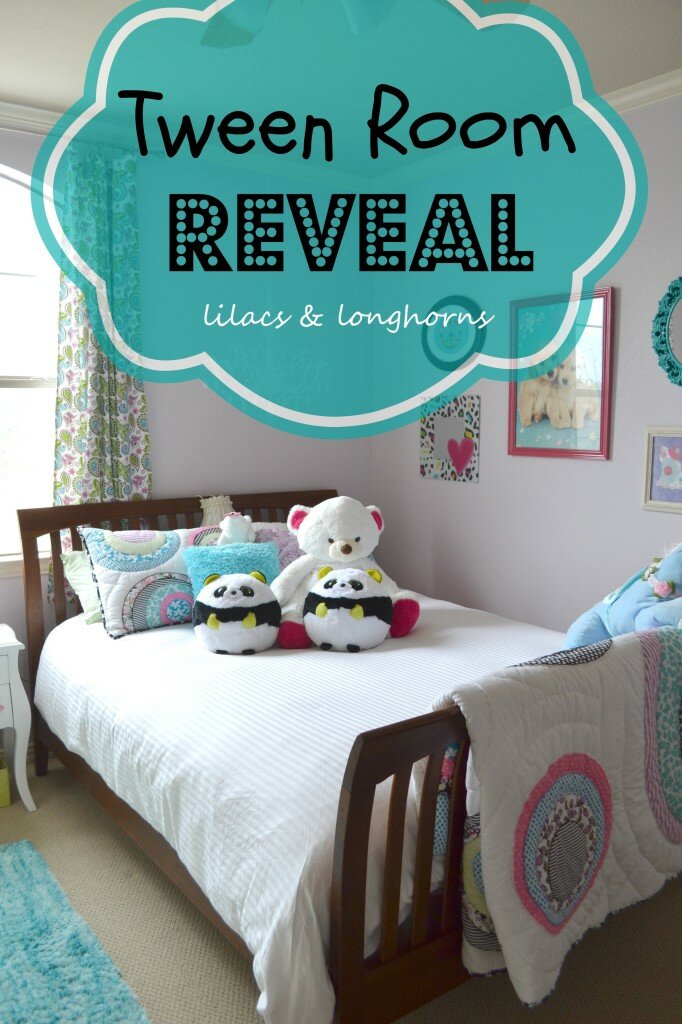
1. Tween Girl’s Room Makeover:
My daughter and I worked on this room together — she had a lot of ideas and her own, unique style. We took our time getting this room together and we both love the results.
We painted the walls a pale lavender, made a lot of the wall art and other details ourselves and decorated a lamp shade with ribbon. We had a lot of fun!
I have to confess, we have updated her room slightly since this reveal — we got her a new twin bed with a trundle this fall and she added a couple of posters of the band, One Direction. As with the initial makeover, we have worked together to make it all fit and work together. It’s so cute! I haven’t shared the updates yet on the blog but I will soon!
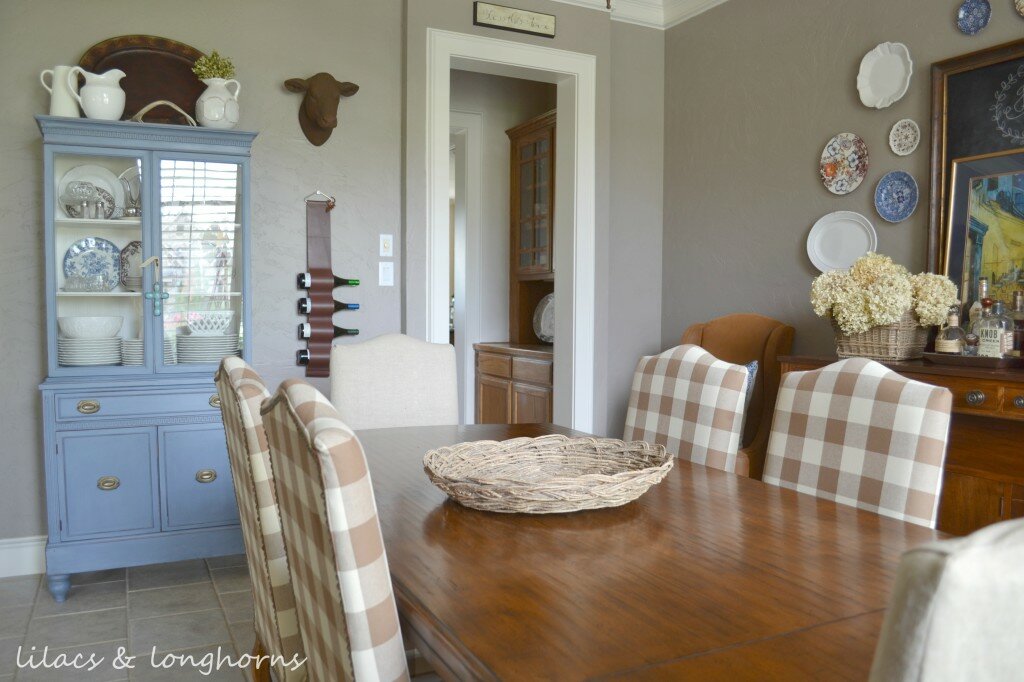
Without question, this room is my favorite in our whole house! And, like most of my room re-do’s, my dining room came together slowly with a lot of DIY projects — the chairs, the china hutch and the grandfather clock.
The time and effort was totally worth it. The room reflects so much of my personality without leaving out my husband’s taste and I love that about it!
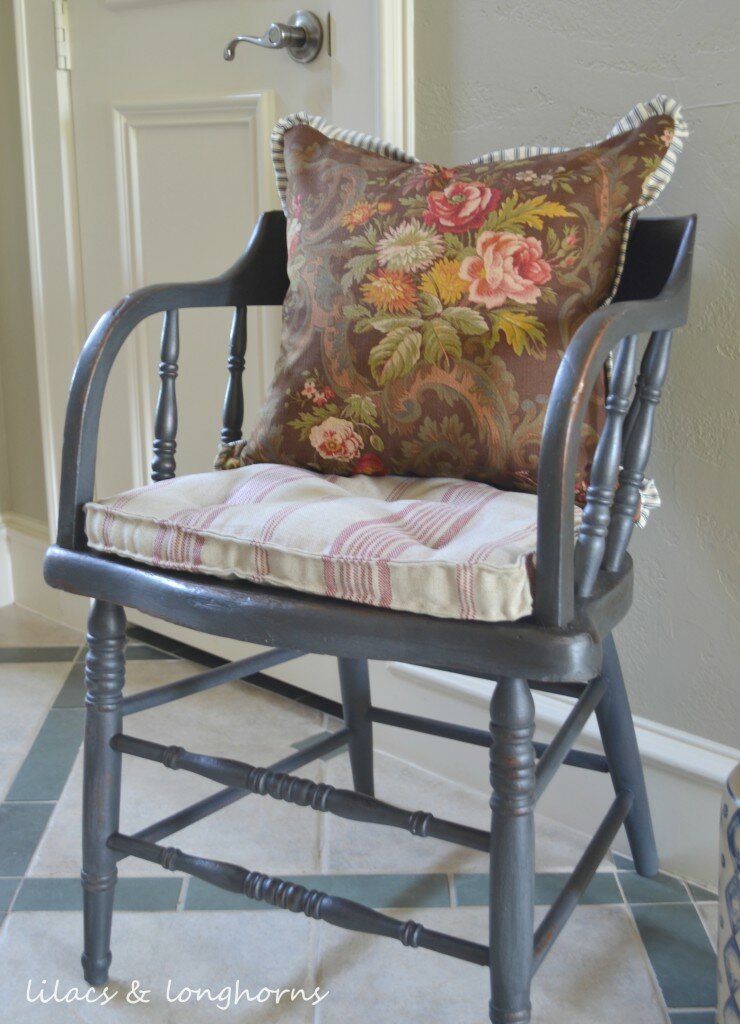
Who knew such a small and impromptu project would make me so happy?!
This chair was sitting in my attic getting dry and dusty. On a whim, I decided to bring it in to my foyer to change things up a little. With a little Annie Sloan Chalk Paint and a new cushion and pillow I made myself, it turned into a cute little piece that is pretty and functional!
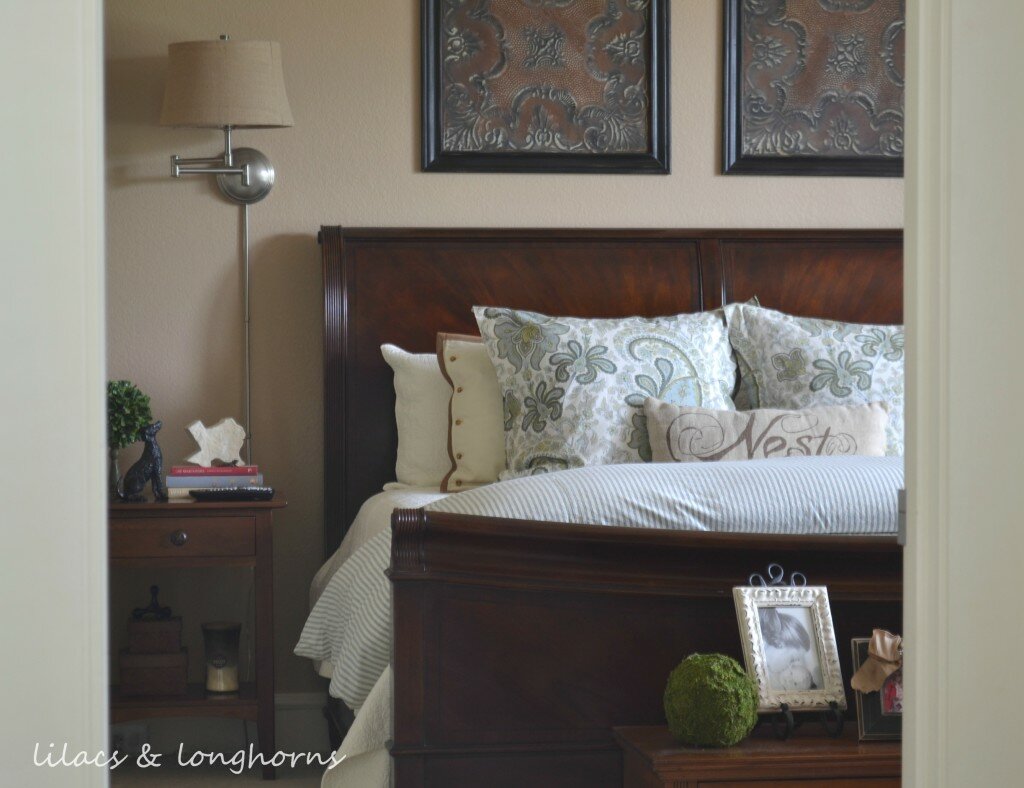
I didn’t do a lot to update our master bedroom this year…just a two new pillow shams and a couple of little decorative pieces to freshen it up a little. It’s amazing how just a few simple touches can make a space feel new, isn’t it?!
5. Organizing My Master Closet
Even more than a well-decorated space, I love an organized space.
Embarrassingly, I had really let my master closet get out of control. One of the pitfalls of having a large space (and not a lot of storage space) is that it becomes a dropping zone and a great place to hide things when company comes.
I purged and cleaned and got my space looking and feeling great. And, even if you have a small closet that isn’t a walk-in, you can still use my organizing principles to create a great, clutter-free space of your own!
*****
As usual, I’ve got a long list of organizing, DIY and makeover projects on my list for this year and I’ll be sharing it with you soon.
Thank you so much for reading this blog, taking the time to comment and for allowing me to get to know you. This blog has been such a blessing to me in so many ways and I am grateful to be able to come here each week and share my love of all things home!
Happy New Year!
Julie
Link up to: Southern Hospitality Savvy Southern Style Decor Adventures Between Naps on the Porch
POSTED IN: 2013, Annie Sloan, Bedrooms, Chalk Paint, Dining Room, Kids Room, Master Bedroom
15+ Fabulous Furniture Projects
I hope you are having a wonderful holiday season!
I had all of these grand plans to blog over the holiday, but it has been so busy! I’ve been relaxing, planning projects and trying to get organized.
My Christmas decor is still up and it will be until the New Year. I might even share a few more pictures of it because I got some fun new photography gadgets for Christmas that I’m dying to try out. Plus, if you follow me on Instagram, you know the lights on our pre-lit, fake tree died a few days before Christmas and we replaced it with a gorgeous real tree. I am in love with it!! I could keep it up forever!
That said, I really am excited for the new year and beginning new projects at home.
Today, I’m teaming up with a few blogger friends to bring you some great past projects — my favorite kind — the ones that pack a big punch for a little effort and a few bucks.
Painting furniture and accessories is such a wonderful way to give new life to items that you are maybe not so excited about anymore or something you found at a yard sale for a smoking price.
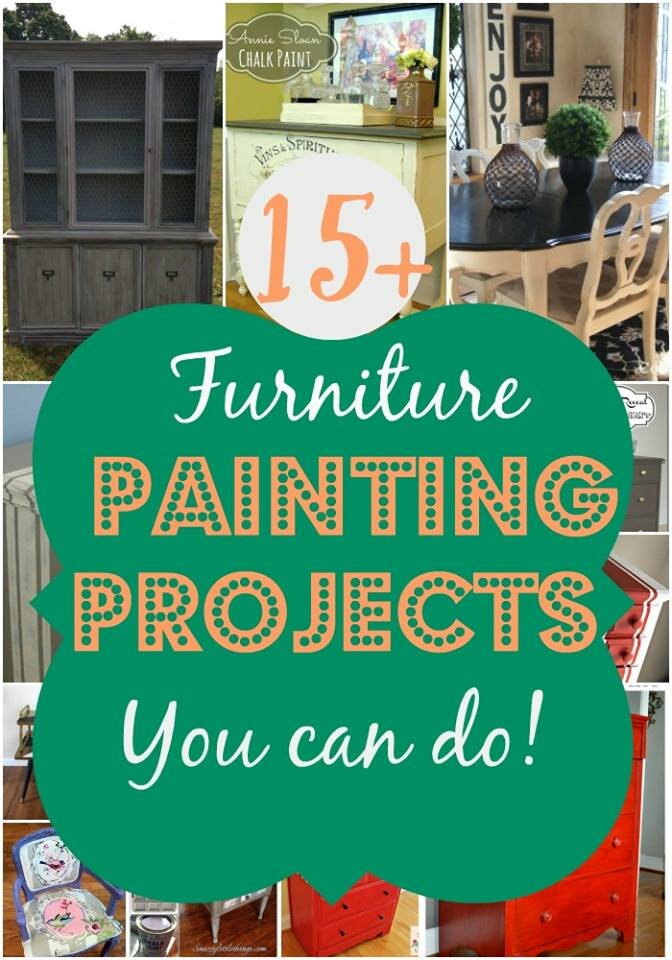
Enjoy and be inspired by 15+ Awesome Furniture Painting Projects You Can Do!
Here are 15+ Amazing Furniture Painting Projects!
First up, I’m showing you my little blue china hutch. If you’ve been here before, you may be tired of seeing it, but it is my favorite painting project to date. And, I love it even more after adding bun feet to give it some height.

Next up, Christy from Our Southern Home…
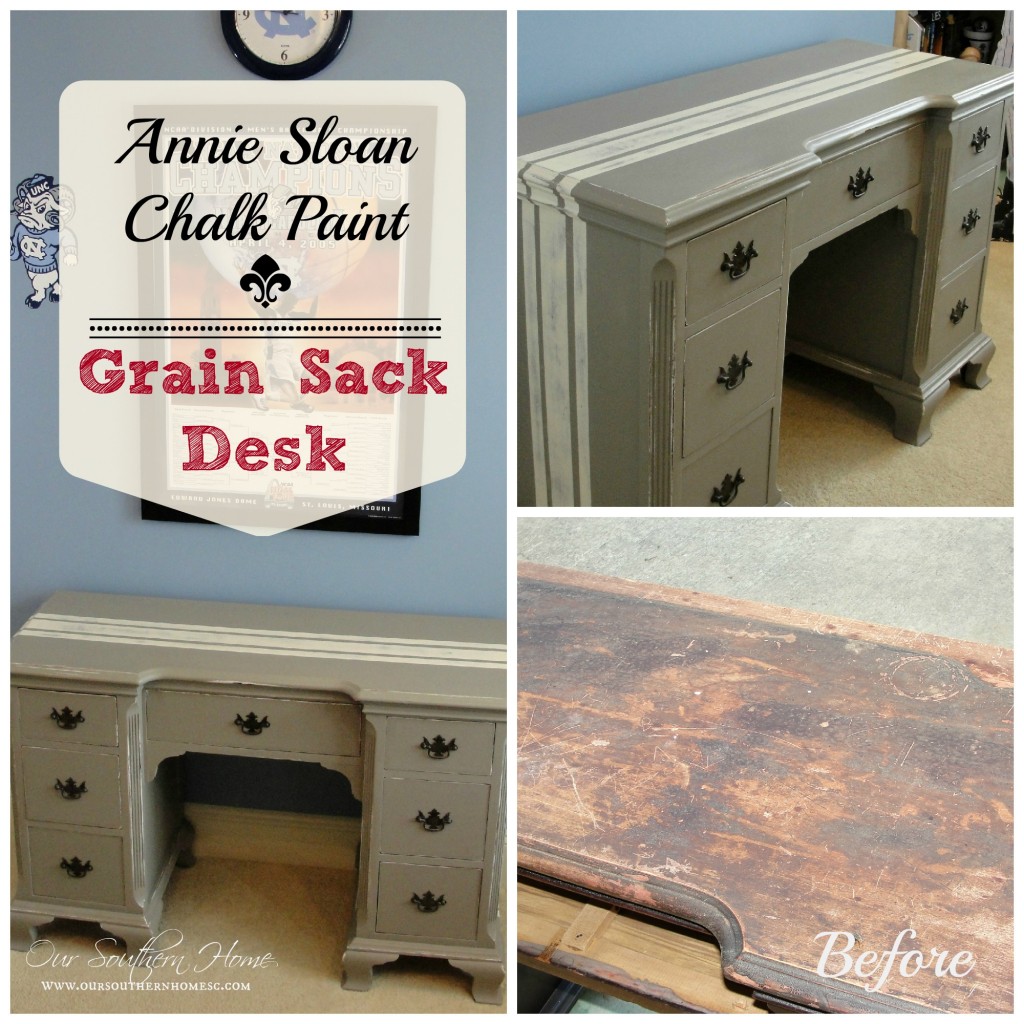
Her mom bought her this antique desk in really bad shape at a yard sale for $15. She used Annie Sloan Chalk Paint to revive it for her teen son’s room. You can find the complete how-to HERE from Our Southern Home.
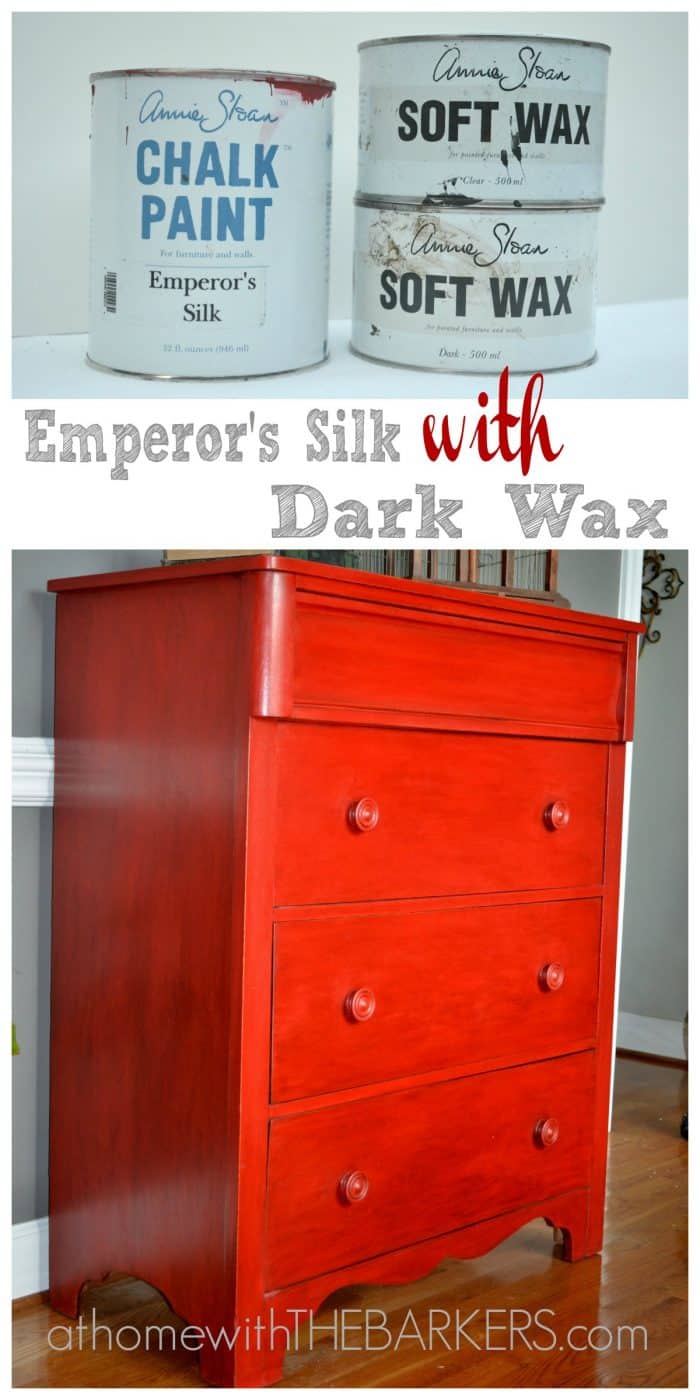
 Emperor’s Silk Dresser with dark wax by Sonya from At Home with the Barkers creates a striking piece!
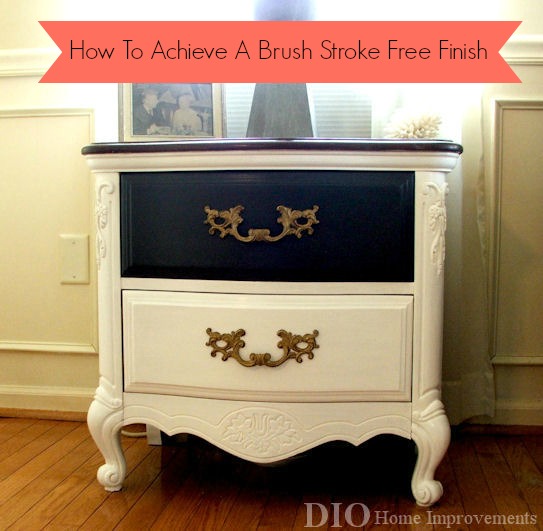
I know we are all interested in Dria’s post on How To Achieve a Brush Strokes Free Finish from Dio Home Improvements. Thanks, Dria!
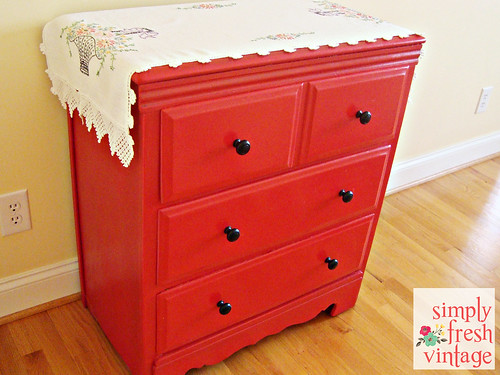
Lani from Simply Fresh Vintage has a tip involving White-Out that she used on this dresser! Why didn’t I think of it?!
Paint and Mod-Podge rescue this Goodwill table from Jeanette over at Snazzy Little Things.

Yes, you can paint laminate! Megan from Rappsody in Rooms shares the how to! Her entire porch is full of thrifty do it yourself ideas!

Gorgeous redo from Beth over at Farm Fresh Vintage Finds! You won’t believe the before! Removing a few lower panels and replacing with bead board really updates this stunner!

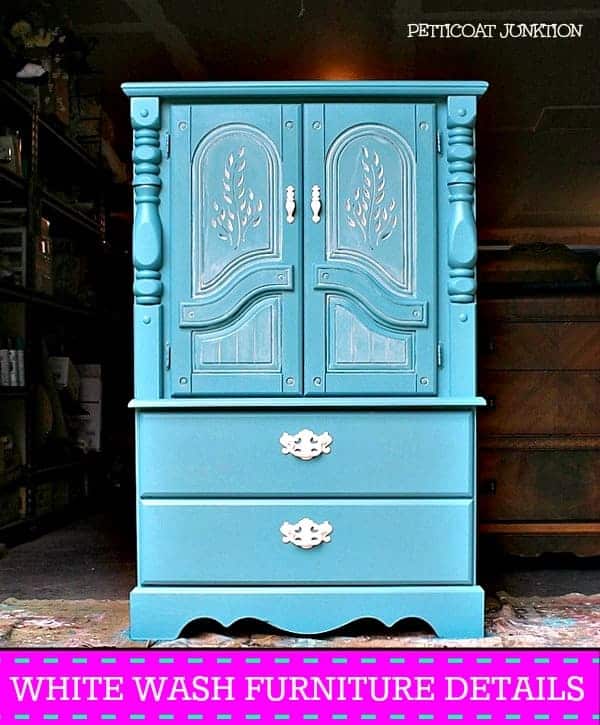
Beautiful piece from Petticoat Junktion. Kathy is fearless in her creativity! She is always generous in sharing her techniques with readers.
Chateau Grey is my absolute favorite Annie Sloan Chalk paint color. Sharon from Mrs. Hines Class painted this old dresser, and it is now used as a media cabinet! Where is the “Love” button?

Check out this whimsical beauty by Amanda from Mommy is Coo Coo. The fabric and color choice are such fun!!! I have a major crush on this chair!

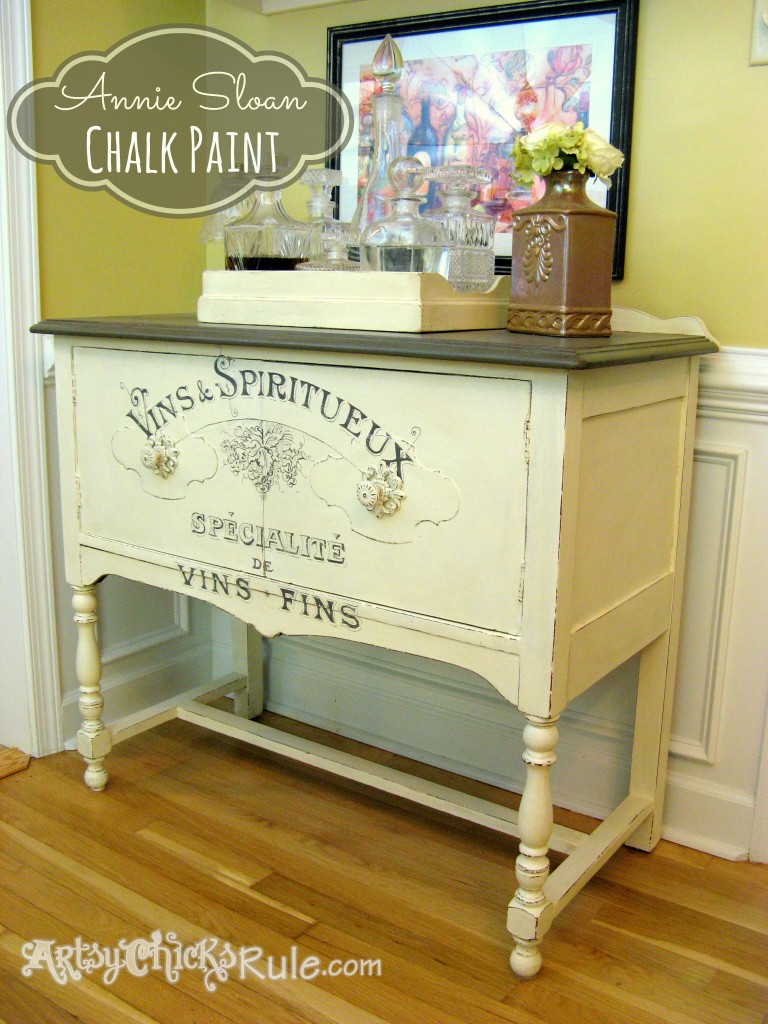
Nancy from Artsy Chicks Rule is such a talented furniture painter and artist. She makes adding topography to furniture look so easy. Guess what…it really is! Visit Nancy for all the details!
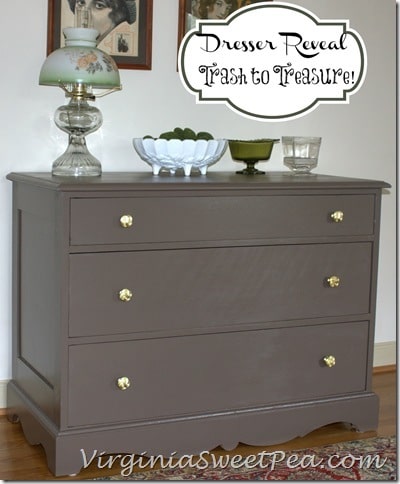
Beautifully painted furniture doesn’t have to just be painted in chalky paint brands. This is lovely finished in gloss from Lowe’s! Visit Paula from Sweet Pea for the color and details!
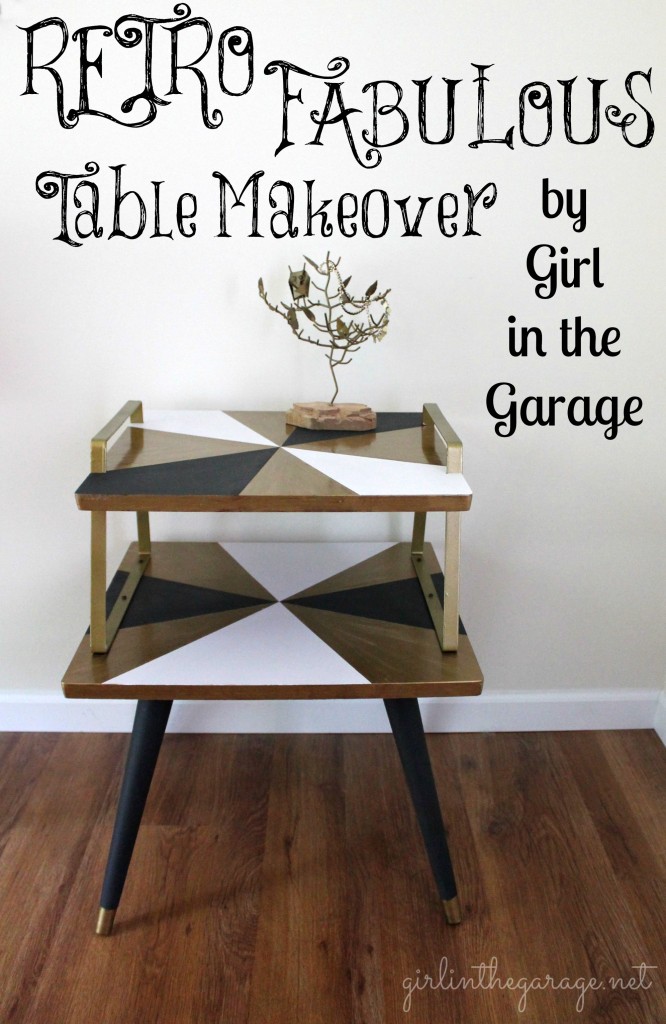
Loving this retro table. Jen from Girl in the Garage has awesome tips for painting geometric designs on furniture! She does lots of furniture so be sure to click around on her blog!
This piece by Pamela From My Front Porch To Yours shows that you shouldn’t look over a badly damaged piece. This water damaged secretary is painted with not one, but two chalk paint colors. The inside is left stained!

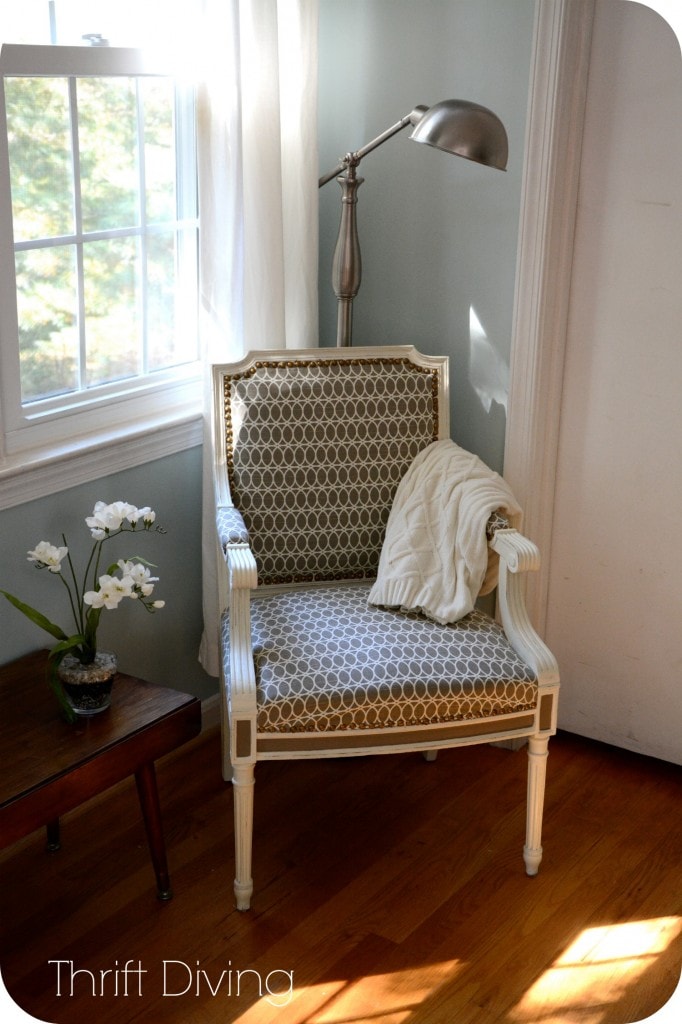
Serena from Thrift Diving has an amazing twofer (is that a real word?) for you! Not only will she share with you the paint project, but shares how to reupholster this chair in detail!
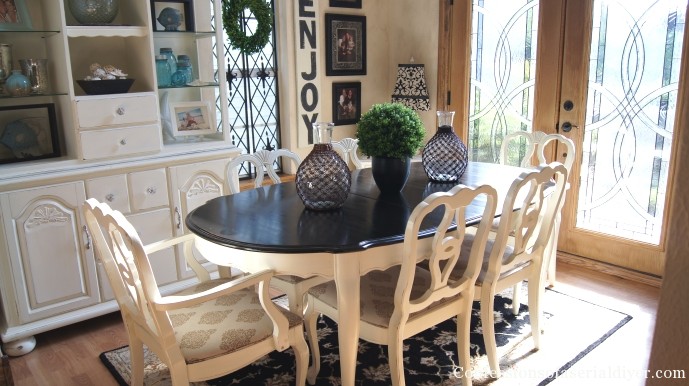
Are you sitting down? This dining set was $85! Visit Christy from Confessions of a Serial Do It Yourselfer for the details! The transformation is amazing!
You can even update a piece with just stripes from Just a Girl and Her Blog! Abby adds grain sack stripes to an already painted chest for a quick update! Stripes are hot right now!

I encourage you to look around your home. Is there something that you are just bored with? Why not try your hand at paint! Scared or nervous? Practice on a yard sale or thrift store find first. You can even practice on scrap wood!
I’d love for you to pin the individual projects…just visit the individual blogs from the links and pin directly from their project. It will make it much easier for you and others to find it down the road.
Have a great day and thanks for reading!
Painting Pumpkins with Chalk Paint
I really love decorating with the “real thing” whenever possible.
Real pumpkins, real gourds, real flowers…you get the idea.
But, I live in Texas.

It is not always practical to decorate with the real thing.
Why?
#1. If I put that stuff out now, it will rot by Halloween.
#2. If I can actually find the real thing in stores right now, it will rot by Halloween.
#3. I don’t want anything to rot by Halloween and I’m a blogger and I blog about my home. So, that means, I must start decorating before the masses and before it actually gets remotely cool here.

So, that means that real isn’t practical.
And, if there is one thing people know about me…I’m practical.
That’s why I’m totally pumped about painting pumpkins and gourds and other plastic vegetables with chalk paint.
I’m telling you, it is a great transformation.

From plain, plastic-y and shiny to fab.u.lous.

I used Annie Sloan Chalk Paint in Old White (for the top pumpkin) and French Linen (on the bottom pumpkin). I topped it off with a little bit of clear wax, dark wax, and then clear wax again.
It sounds complicated, but trust me, it’s not.
It’s sooo easy. You can definitely do it too.

What do you think?
Can you go fake this season?

Between Naps on the Porch
The Scoop – Confessions of a Plate Addict
The Inspired Room – Fall Nesting party
A Grandfather Clock Makeover and a Little History


What projects are you working on today?
Thanks for reading!
Linking up to:
The Shabby Creek Cottage
Miss Mustard Seed
The Shabby Nest
It’s Overflowing
DIY Showoff
Between Naps on the Porch

Easy Furniture Transformation {Adding Legs}
Remember my Annie Sloan Chalk Paint Old Violet china hutch I fixed up last year?

I bought it on Craig’s List almost a year ago and transformed it from dark-stained and dull to this blue beauty.
Before I bought it, I knew that the width and depth were perfect for my space, but I also knew that it was lacking a little on height. That fact didn’t stop me because I knew I could fix it and I finally got around to it this weekend.

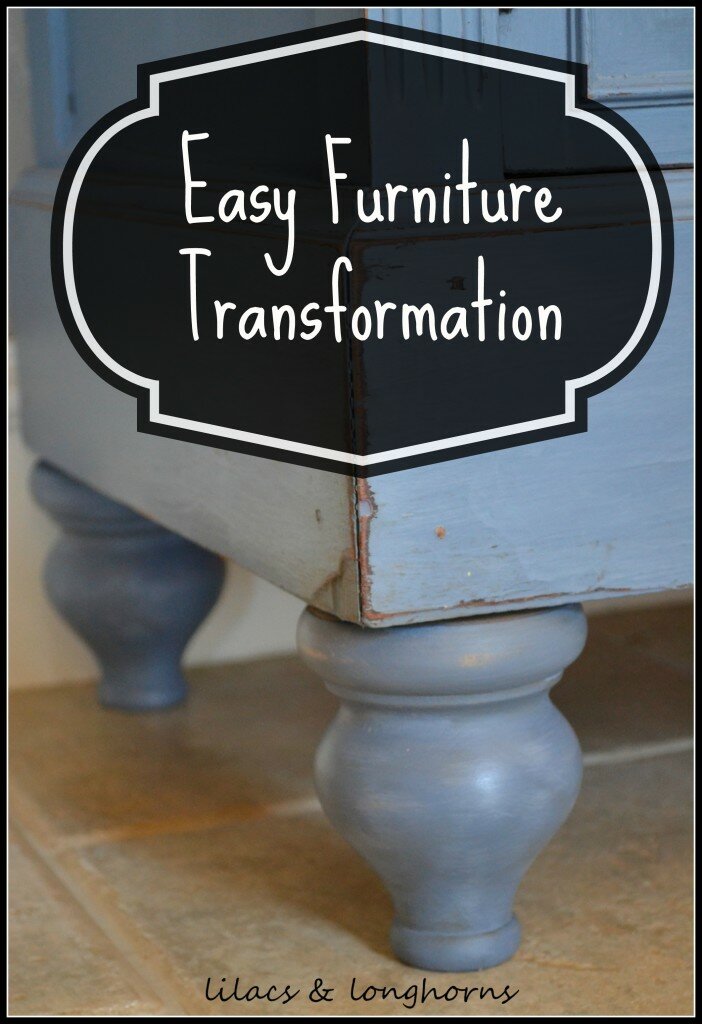
I added these cute little 4-inch high bun feet and I absolutely love how it turned out!


It was really easy. In fact, I did it all by myself — well, I had a tiny bit of help from Mr. Longhorn.
I only have one picture of the process because my camera battery died mid-project, so I’ll do my best to describe it for you.
It’s so easy, I think you can manage to follow along without pictures.
First, my husband helped me lay the piece down on the ground and I inspected the underside to see what I had to work with.
The four corners had 2 x 2 square wood pieces that had furniture “pads” (what are they called?) on the bottom. I removed those and measured how much space I’d have to work with.
Then, I went to the hardware store and bought the 4″ bun feet I had been admiring for the piece. They were $6.98 a piece. When I got home, my husband told me that I would need something called a “tee nut” to secure and screw the legs in to. (Yes, after. So back to the store I went.)
A “tee nut” looks like this:

He told me that they’re usually used on the top of a piece instead of the bottom, but since we’re not moving the hutch all over the place it should be just fine.
So, I drilled a hole into the bottom of the wood support and hammered the tee nut into place.
Here’s my one and only picture I took on my phone and posted on Instagram:

It’s off-center because my bun fee are kinda wide.
Once I had the tee nuts in place, I painted the feet to match my piece and screwed them into the tee nut. Super easy!
I love it!

As a reminder, here’s what it looked like before I installed the legs:

(Sorry for the terrible glare on the cabinet doors. )
My dining room is really coming together! I just have to finish upholstering my chairs and I’ll be ready to show it off!
Thanks for stopping by today!

DIY Showoff
Cedar Hill Ranch (Cowgirl Up)
Savvy Southern Style
The Shabby Creek Cottage

