-
follow me
-
-
subscribe via email
-
-
hello

-
Welcome! Im Julie and I love classic, cozy living, homemade pie, down-home cooking, organized spaces and hunting for treasures. I enjoy sharing my love of all things home with you!
-
Search this blog
-
-

-
Favorite Posts

-

-
-
-
-
-
Top Posts & Pages
-
-
Follow me on Pinterest!
Visit Lilacs & Longhorns's profile on Pinterest. -
Find me on Facebook
Monthly Archives: November 2014
Virtual Cookie Exchange Link Party
The Christmas season is officially here!
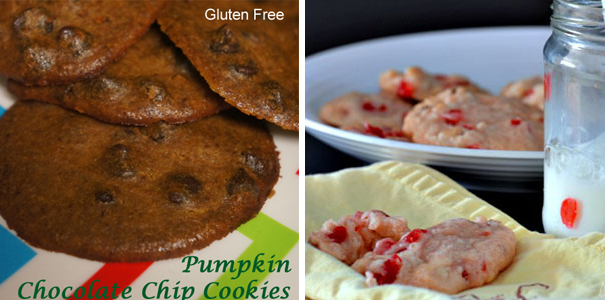
If you were visiting here earlier this week, you know that 14 other bloggers and I all participated in a Virtual Cookie Exchange and shared some of our favorite holiday cookie recipes.
You can link up your recipes below, but first, here’s a look at all of the delicious recipes that were shared during the
2014 Christmas Cookie Exchange
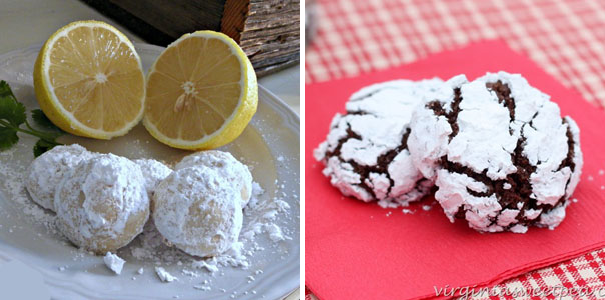 What Meegan Makes Sweet Pea
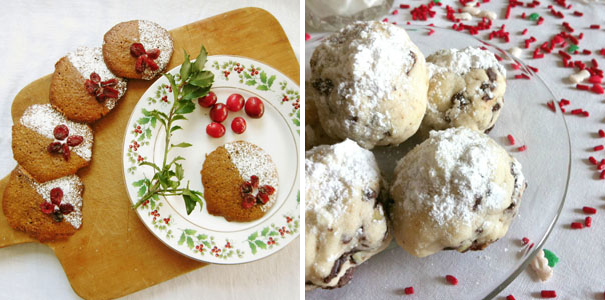
Prodigal Pieces Simply Fresh Vintage
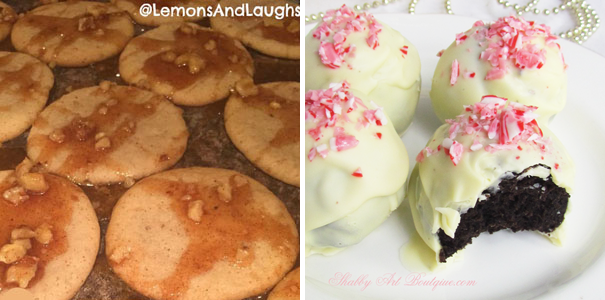
Lemons and Laughs Shabby Art Boutique
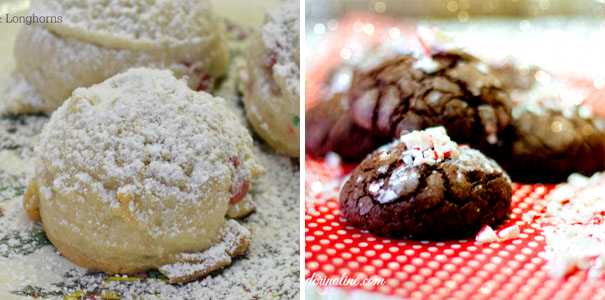
Lilacs and Longhorns Cupcakes and Crinoline
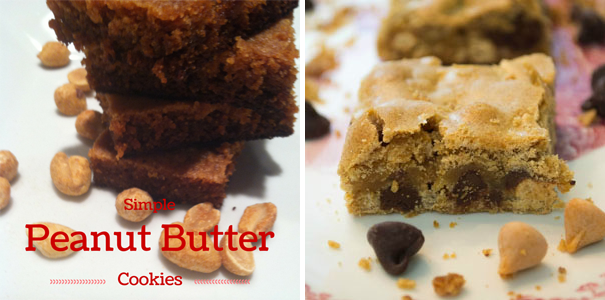 Captivating Corner Postcards From The Ridge
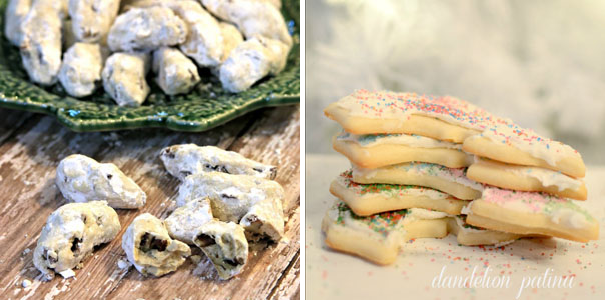 Our Southern Home Dandelion Patina
 Great Contradictions Mrs Hines Class
Now, it’s your turn to share yours!
Link up and visit others to see what everyone is baking this season.
Merry Christmas and Bon Appetit!
Share on facebook | Share on Twitter | Pin on Pinterest
Happy Thanksgiving
Before you gather around your Thanksgiving table tomorrow, I just want to take a minute to wish you a very Happy Thanksgiving!
I am so grateful that you grace me with your presence here on this blog.
I am so grateful for your continued support, your wonderful and kind comments, and the encouragement you give me each and every day.
I am humbled and amazed that you find even a little bit of what I do inspiring and encouraging. Thank you so much!
Enjoy your families and your friends, the delicious food, and the football games.
Happy, happy Thanksgiving to you!
Share on facebook | Share on Twitter | Pin on Pinterest
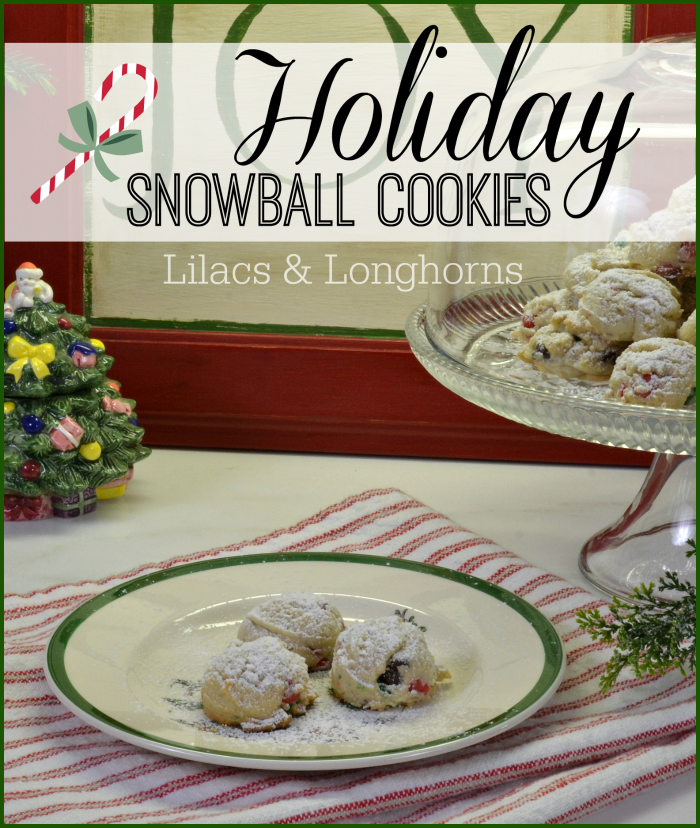
Snowball Cookies: Virtual Christmas Cookie Exchange
Christmas and baking go hand in hand. I have so many memories of spending the holidays with family and seeing plates full of special treats baked just for the Christmas season.
Many of those recipes are like cherished friends. Over the years I made many of my tried and true favorites but I have also added new ones that come along. That’s the case with the recipe I’m sharing today — Snowball Cookies.
I found it on a package of Nestle’s Holiday Morsels several years ago. Back then, the morsels were shaped like little Santa faces and my daughter who was in pre-K at the time begged me to buy them. I looked at the recipe on the package and thought it looked like something we would like, so I bought the morsels and we tried the recipe. It was a hit!
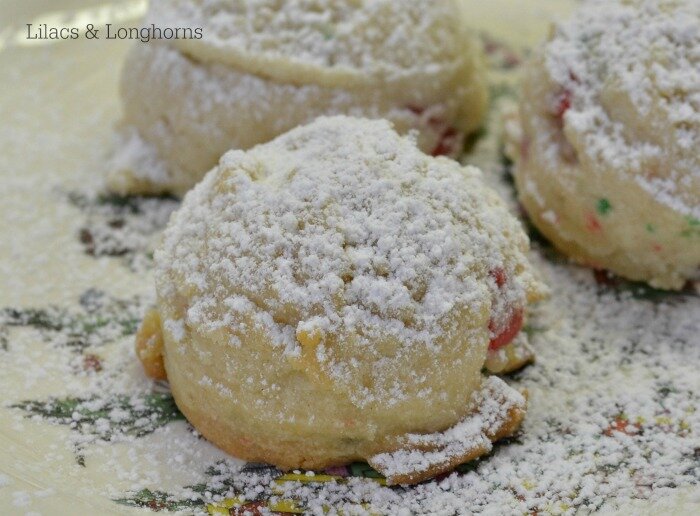
I don’t make these every year, but when I do my kids really love to help make them, and of course, eat them! They’re buttery and simple and, because they’re a drop cookie, they’re so easy to make with kids of any age.
As a side note, you don’t need to buy Nestle Holiday Shapes and Morsels to bake and enjoy these cookies.
Holiday Snowball Cookies
2014-11-24 20:12:17
A buttery drop cookie with white chocolate morsels.
Write a review
Save Recipe
Print
Ingredients
- 1 1/2 cups (3 sticks) butter, softened
- 3/4 cup powdered sugar
- 1 T. vanilla extract
- 1/2 tsp. salt
- 3 cups all purpose flour
- 1 3/4 cup. Holiday shapes & morsels (you can substitute white chocolate chips)
- 1/2 cup finely chopped nuts (optional)
- Powdered sugar
Instructions
- Preheat oven to 375 degrees F
- Beat butter, sugar, vanilla extract and salt in large mixer bowl until creamy. Gradually beat in flour, stir in morsels and nuts. Shape level tablespoons of dough into 1 1/4 inch balls. Place on un-greased baking sheets.
- Bake for 10 to 12 minutes or until cookies are set and lightly browned. Remove from oven. Sift powdered sugar over hot cookies on baking sheets. Cool on baking sheets for 10 minutes. Remove to wire racks to cool completely. Sprinkle with additional powdered sugar, if desired. Store in airtight containers.
Notes
- We do not use nuts in our cookies and we prefer using white chocolate chips instead of the Holiday Shapes and morsel blend. The Holiday morsels have a few semi-sweet chocolate chips mixed in and my kids prefer the cookies without the dark chocolate pieces.
Adapted from Nestle Holiday Morsels package
Adapted from Nestle Holiday Morsels package
Lilacs and Longhorns http://www.lilacsandlonghorns.com/
If you’re like me and enjoy baking during the holiday season, then you’re going to love this Virtual Cookie Exchange I’m taking part in today:
I hope you’ll stop by each blog this week to see all the wonderful recipes being shared. Also, check back on Friday to link up your favorite holiday cookie recipes. I can’t wait to see what everyone is baking!
Please visit the following blogs to see what they brought to the
2014 Christmas Cookie Exchange
 What Meegan Makes Sweet Pea

Prodigal Pieces Simply Fresh Vintage

Lemons and Laughs Shabby Art Boutique

Lilacs and Longhorns Cupcakes and Crinoline
 Captivating Corner Postcards From The Ridge
 Our Southern Home Dandelion Patina
 Great Contradictions Mrs Hines Class
Thanks for stopping by today. Happy Baking!
Sharing at: Inspire Me Tuesday Twirl and Take a Blow
Share on facebook | Share on Twitter | Pin on Pinterest
Thanksgiving Tablescape Ideas and Cookies
This is usually a busy week for me. Both the kids and my husband are off of school and work and we are busy getting ready for Thanksgiving and the holiday season. (Of course, we’re trying to squeeze some fun in, too!)
Since we are hosting Thanksgiving at our house again this year we are getting our house in order. One of the nice things about blogging is that my Thanksgiving table is already set! It’s so nice to have that done before the big day so all I have to think about before guests arrive is cooking the turkey and baking the pies.
Today, I thought I would show you some of my past tablescapes in hopes that it might give you a little inspiration for creating a pretty and welcoming table of your own.
Even if you don’t live in the U.S. and are not celebrating Thanksgiving this week, I hope you might find some ideas for setting a table any time of the year.
I set this table last year. It’s more elaborate than I usually get but I was going for a Pottery Barn-inspired look.
I think the key to achieving their style is to have lots of layers, varying heights and a lot of texture.

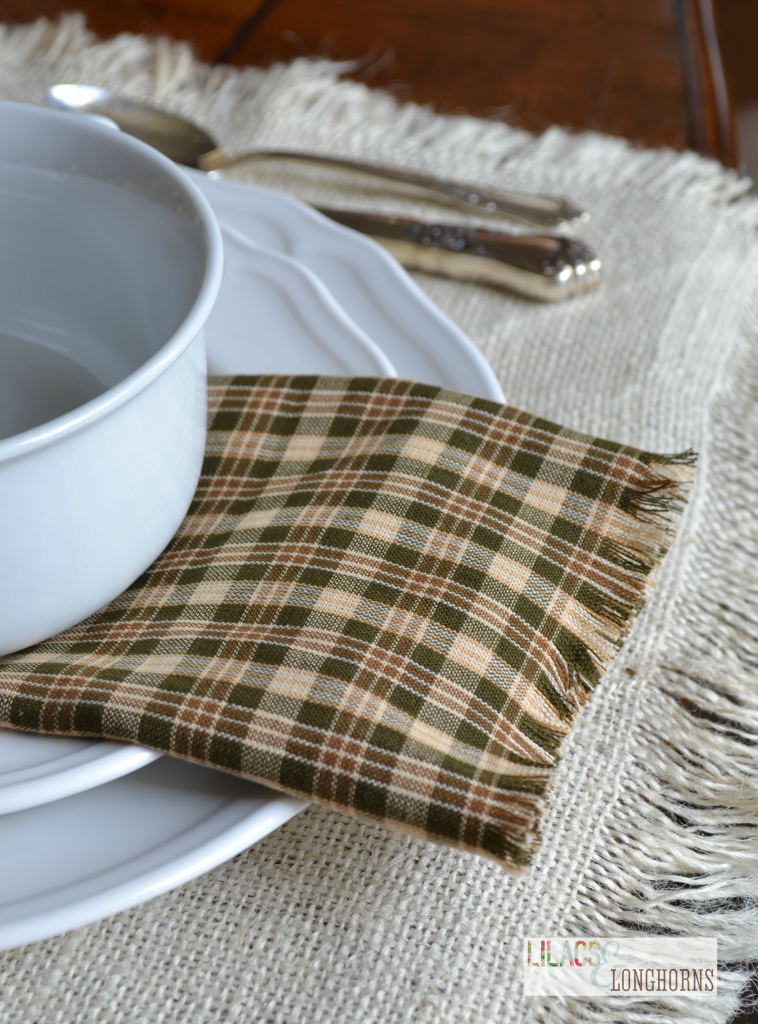
I made my own no-sew cloth napkins for that table. They were so easy and very inexpensive.
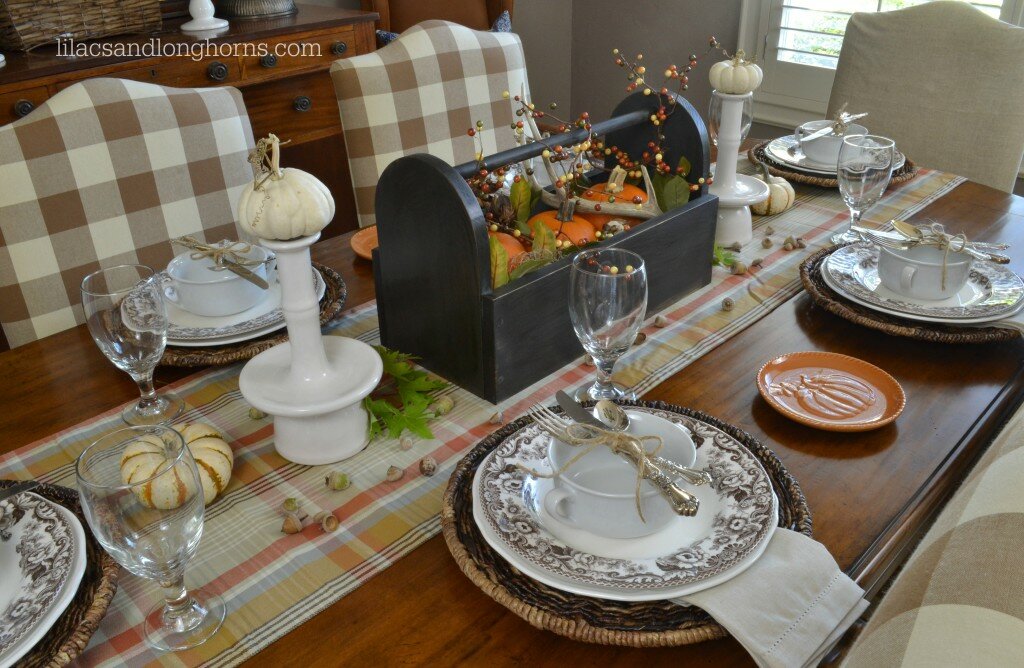
The table below I set up this fall for a special fall meal. I tried something new by tying my silverware together with a little twine and placing them on top of my soup bowls.
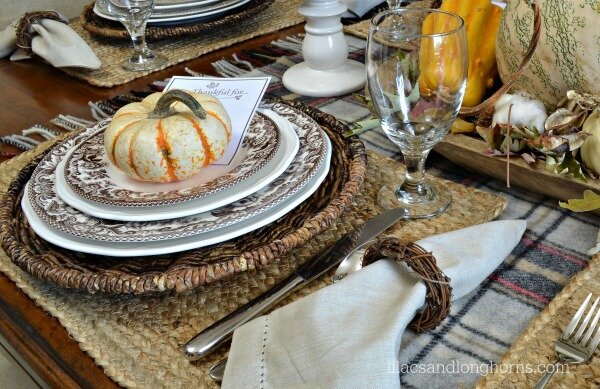
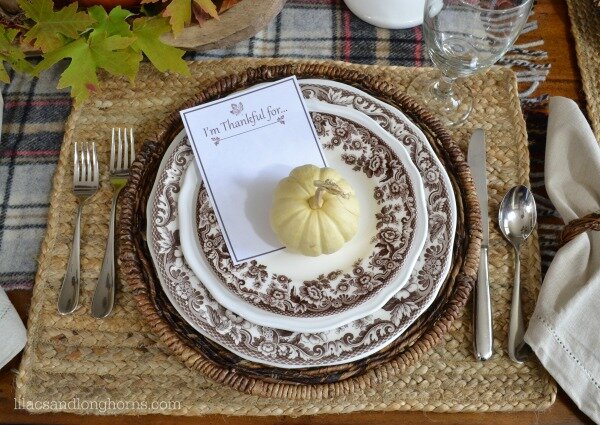
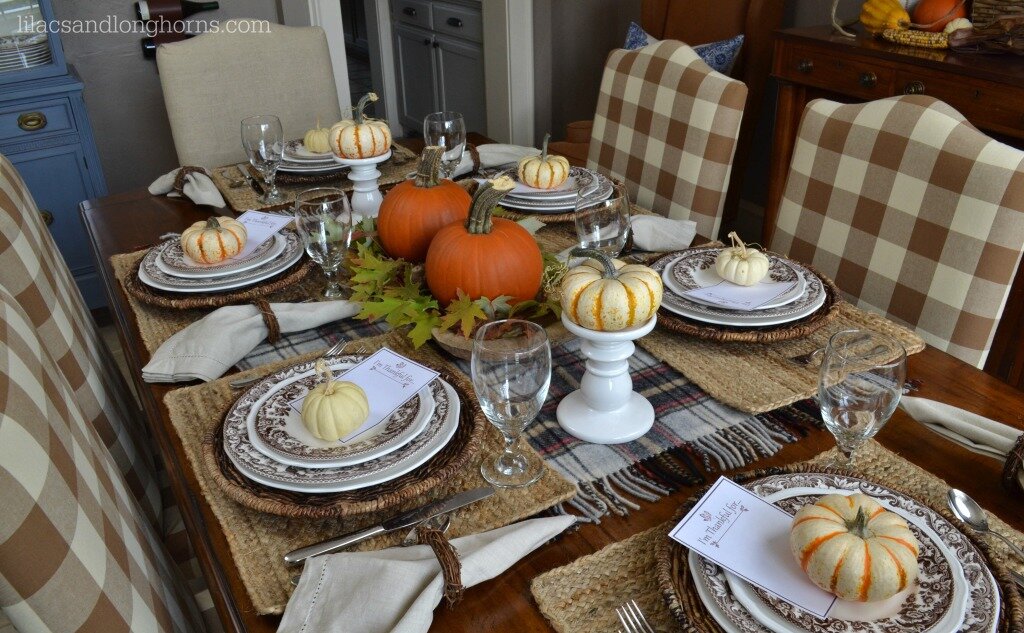
The table below is set for this year’s Thankful at Home tour. This is how our table is set for Thanksgiving this year.
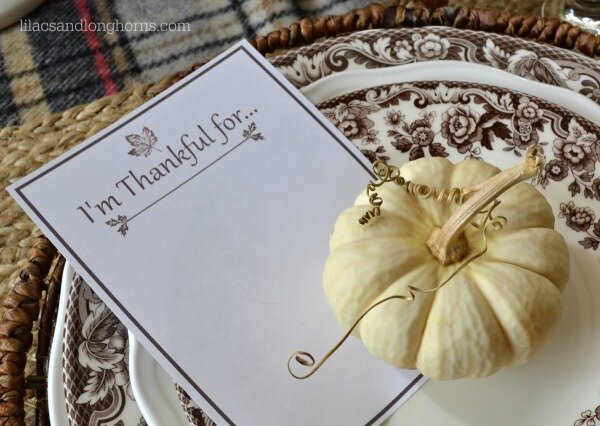
I love the layering of the plaid blanket, woven place mats, chargers and plates. My daughter is particularly excited about the “I’m Thankful for…” printables I made. You can download it here.
The following is one of my favorite tablescapes. It’s simple, uses non-traditional fall colors and it’s easy to set up in a few minutes.
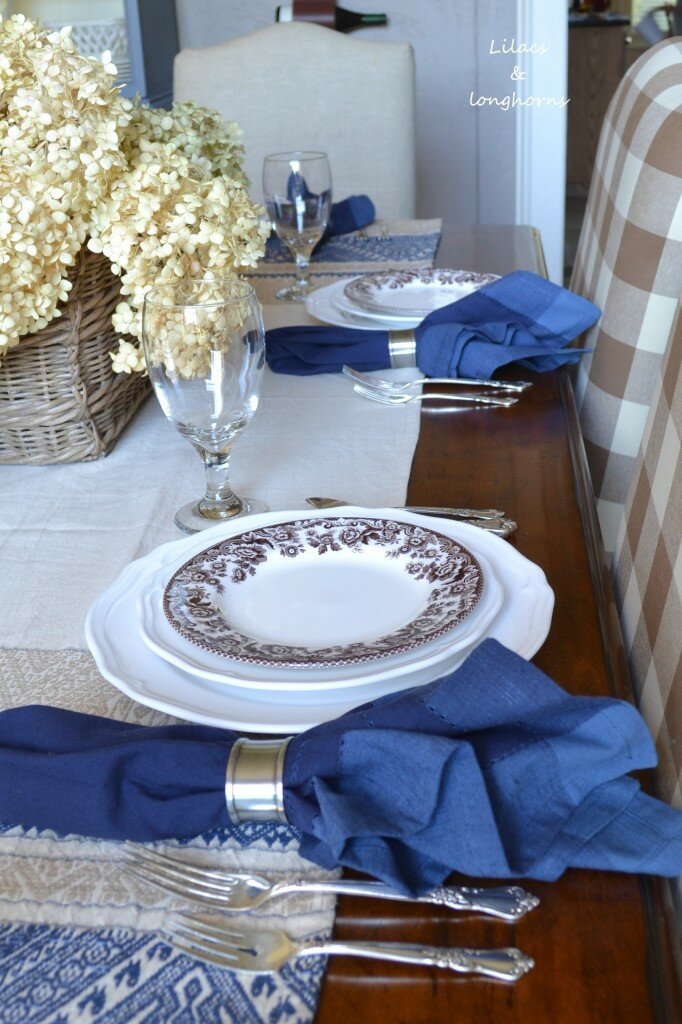
If you have been around here for awhile, you know I have a thing for the color blue!
You’ll notice I use a lot of the same things over and over again. Let’s face it. Most of us are not wealthy, nor do we have a lot of storage space to keep several sets of china and dinnerware. For me, the key is to start with something simple like white plates so you can mix and match other patterned dishes or odds and ends that you find or already have.
I love mixing and matching!
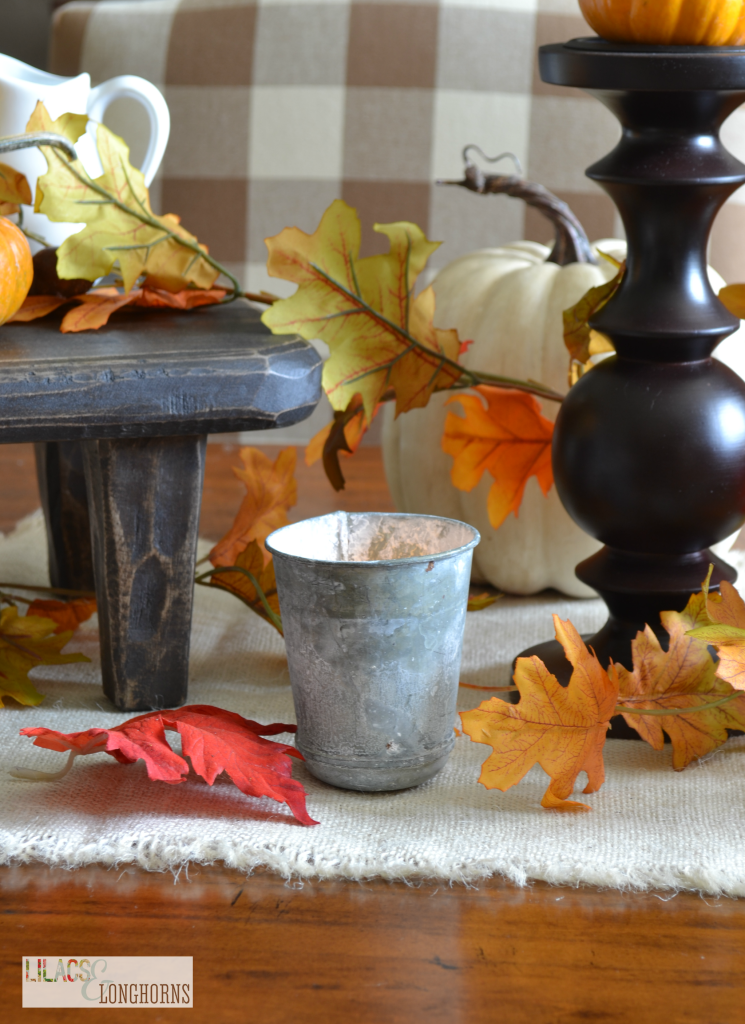
When it comes to making a center piece, think LOW. You want to be able to see your guests, so keep things below eye level as much as possible. A tall candle stick or two isn’t a big deal, but a tall floral arrangement might need to be set aside during the meal.
To me, it doesn’t matter whether you use cloth or paper napkins, the most important part of the table is the guests that surround it.
Here’s to wishing you a Happy Thanksgiving and a wonderful meal and day with friends and family!
Before I go, I have a special announcement…
I am joining several of my blog friends this week to bring you some of our favorite holiday cookie recipes.
The tour begins today and continues through Wednesday. Then, come back Friday to link up your own favorite recipes!
I’ll be back tomorrow to share my cookie recipe with you. Until then, have fun browsing through today’s blogger line-up:
Cookie Exchange
Monday 24th November
What Meegan Makes
Sweet Pea
Prodigal Pieces
Simply Fresh Vintage
Lemons and Laughs
Tuesday 25th November
Shabby Art Boutique
Cupcakes and Crinoline
Captivating Corner
Wednesday 26th November
Postcards From The Ridge
Our Southern Home
Dandelion Patina
Great Contradictions
Mrs Hines Class
Share on facebook | Share on Twitter | Pin on Pinterest

