When I made my large Pottery Barn knock-off chalkboard and my small chalkboard easel I was excited about the prospect of being able to update them with greetings, poems and sayings for each season.
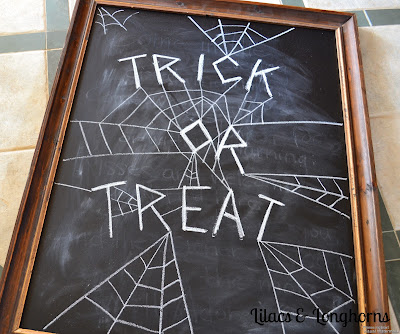
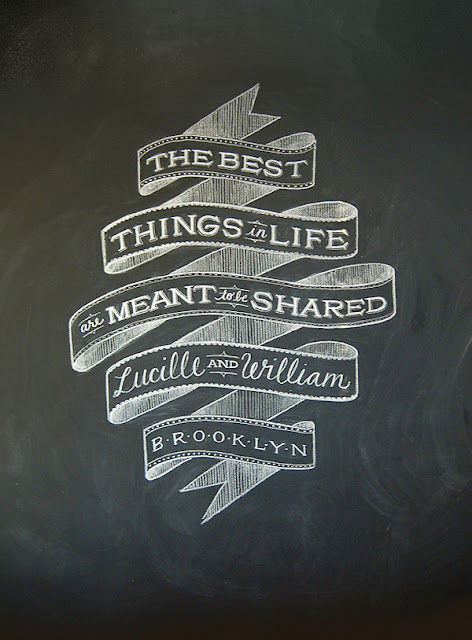
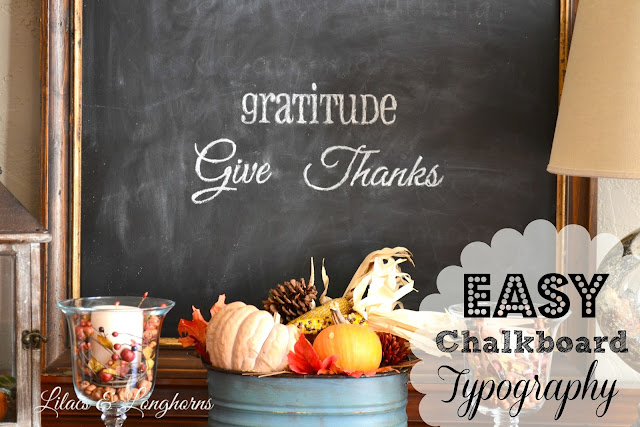
Yes, I did that. Myself!
I pinned this image on Pinterest last week and couldn’t wait to check it out.

Score!
This SIMPLE tutorial shows us beautiful handwriting-impaired people how to write script/typography on a chalkboard that looks super professional and beautiful. And, I’m telling you, it is EASY. It does take some time but if you can outline with a pencil and color inbetween the lines, you can do this!
Here’s how I did it:
First, I found some fonts and words that I liked and wanted to put on my board. I found this cute printable at My 3 Monsters.

It was too small for my huge chalkboard so I decided to keep it simple and use the word “gratitude.” I cropped it, made it bigger and then printed it out.

Then I turned the page over, and scribbled chalk all over the back of the word I wanted on the board. (No the chalk really isn’t pink, I just made it look that way in PicMonkey so it was more visible in the picture.)

Then I turned it back over and outlined the words in pencil that I wanted to appear on my board.

You don’t have to fill the whole word in with the pencil. A simple outline is enough. I discovered that firm pressure is all you need. At first, I started by going over each line several times but found it wasn’t necessary. Firm pressure is enough to transfer the chalk to the board.

Then I just filled in the outline free-hand with the chalk. If you can color inside the lines with crayons, you can do this!

My chalkboard is huge, so I printed out Give and Thanks on two separate sheets of paper to fill in a little more space. I made these words myself in Power Point (Word would work, too) and printed them out on my printer.


I followed the same, simple steps and arrived at this:

I will probably fill in with some leaves and acorns later, and maybe I’ll add a few extra words too, but for now I’m happy.
I’m hoping to hang a little green boxwood wreath (or something similar) from the top of the board if I can find one. I thought about making my own wreath, too so if I do, I’ll post about it.

I’m super excited about this transfer method. I’m imagining all the possiblities! You could make wooden signs this way…paint your background, transfer some words on to it and then paint!
I love it when I find new ways to do things that make such a great impact. It definitely renews my passion for DIY.
Not Just a Housewife
Claiming Our Space
Savvy Southern Style
Elizabeth & Co.
Lovely Crafty Home
Miss Information
It’s Overflowing







OK, this is inspired! I would have never thought to try this technique. But now that it has been seen, it can’t be unseen. Now I just need to get a chalkboard. Thanks for sharing on Tout It Tuesday! Hope to see you next week.
What a great idea! Thanks for sharing this technique!
Great to know! I’m pinning this one Found you via Overflowing link party!
-Fotini { http://glamorousbride.blogspot.com }
This looks great! What a great idea for getting the script you want Love your chalkboard easel too.
I love this! And since I have chalkboard paint all over my kitchen, I’ll have to give this a try!
What a great idea! And I love chalkboard typography!
What a great idea! And I love chalkboard typography!
Great idea. I’m doing this now and have everything ready except for font you used for Give Thanks. I’ve beed searching and nothing is close enough.
What font did you use?
Thanks, Rita
Rita, I think the font is “good vibes” from The Font Squirrel. I’m not at my computer to check for sure but I’m pretty sure that’s it. It’s a free font so you gotta love that! Glad you’re trying out the technique! Let me know how it goes!
Julie, Thanks so much for the info. I’m going to check it out now.
I finished my chalkboard sign last night. Thanks for your help. I have a link back to your blog on my post today.
Oh wow, what a great idea to use vinyl as a stencil!
Pinned to my spooky beauties board! Love the idea Julie!
I need to try this great idea! Thanks for sharing at Throwback Thursday.
Love this!!!
Can you tell me what font you used for the word “gratitude”?
Thanks!!!
The font is called “great vibes” It’s a free font you can get here: http://www.fontsquirrel.com/fonts/great-vibes