I have to admit that I am one of those people that gets bit by the organizing bug pretty hard this time of year.
Truth be told, I am tweaking and organizing my home all year long — I am kind of an organization freak — but this time of year becomes a bit of a frenzy in my zeal to purge and refresh.
Monday, I shared my new and improved laundry room with my beautiful new shelving solution. I am so in love with it I can’t even tell you! I have done 5 loads of laundry since we installed the shelving and it’s amazing the difference just a few extra inches here and there makes!
Since the new year, I cleaned up and organized several spaces big and small. I’m not going to bore you with every detail, but my organizing frenzy got me thinking about my process and how I go about the task of making a space not only look tidy, but function well. I am big on functionality. Not only do I want a space that looks good, but it has to work or it won’t stay neat and organized for long.
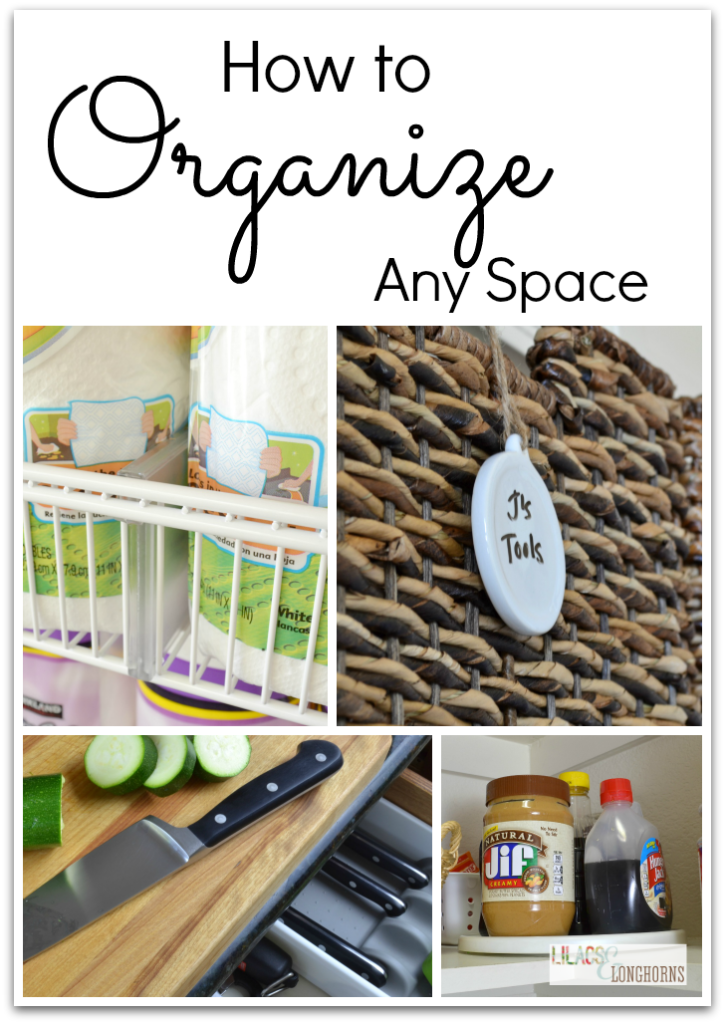
Using the following 8 simple steps, I’m showing you how to organize any space in your home:
1. Purge
This is kind of a no-brainer, isn’t it? You can’t really effectively organize unless you purge. Chances are you are keeping stuff you just don’t need so it’s best to let it go so you can use your space to its full potential. Enough said.
2. Assess what you have and how and where you use it.
After purging, take a look at what you have and decide two things:
- Do you need to find any organizers such as bins or baskets to help keep it organized?
- What is the best location for the items?
Determining the best location is so important — especially in a kitchen or a bathroom. Things that are used daily should be within easy reach. Easy to grab and easy to put away.
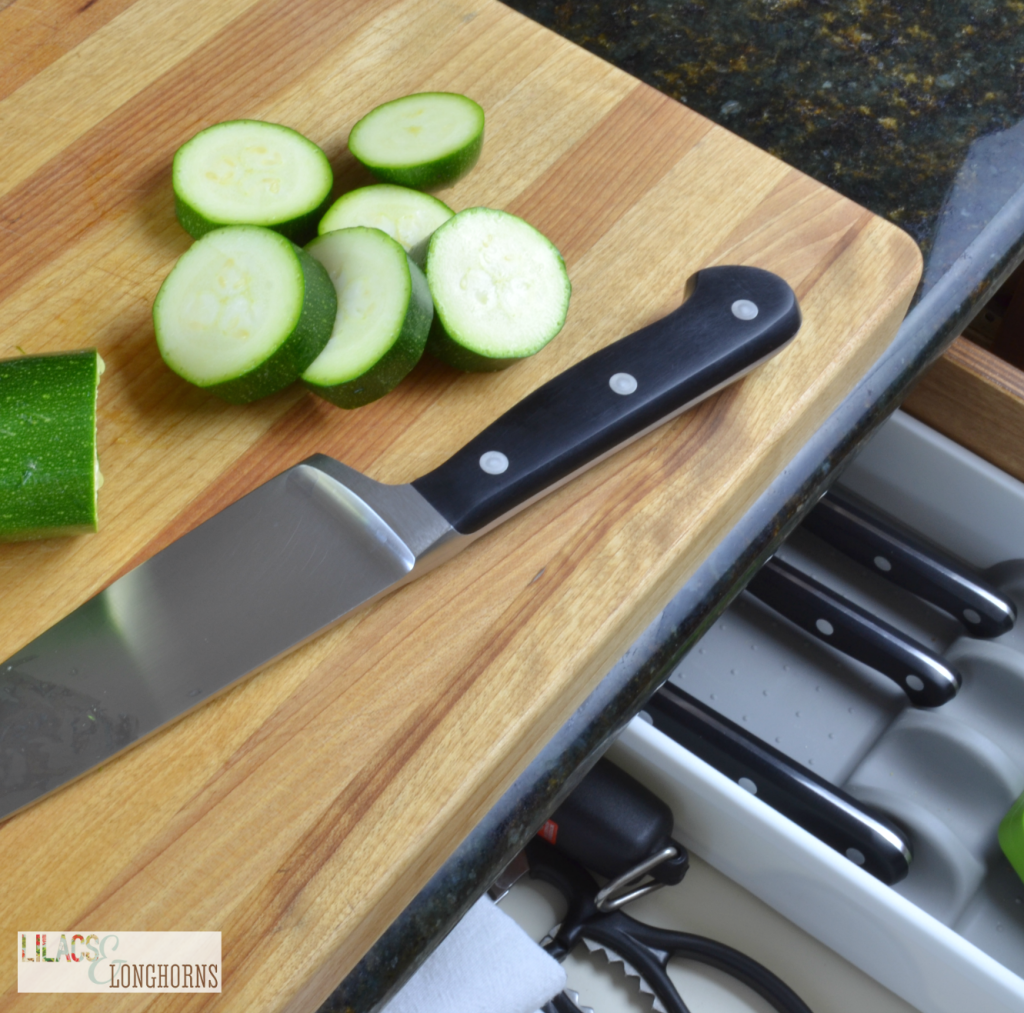
I’ll talk more about this in a minute.
3. Categorize (put like things together)
In our refrigerator I have all the jams and jellies in a bin together so we know exactly where they are. In my bathroom, all my nail polish, clippers, files and polish remover are together in one little bin with a handle for easy toting. In the pantry, I do the same thing; all the cereal is together, the baking ingredients like flour and sugar, etc. It is so much easier to find when you put things together in categories.
4. Think outside the box
Even in the largest of homes, spaces are not always ideal for storage. Things aren’t always easy to access. So, we have to think outside the box. My laundry room has given me fits for years. I tried all kinds of tricks like taking a door off of a cabinet and putting the litter box inside the cabinet to create more floor space (it worked great with our old cat until the dogs thought it was a treat box — gross, I know!).
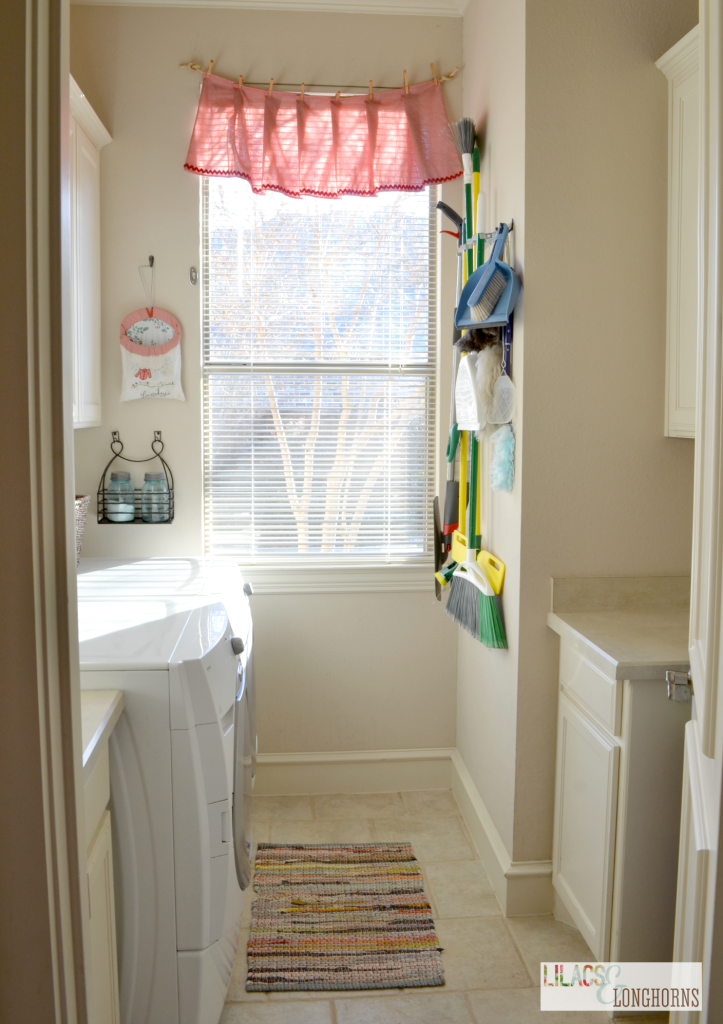
So, I did all kinds of thinking about that space. How could I maximize it? I even called a contractor to see what we could do to enlarge the space just a little — perhaps put in a tankless water heater so we could bump out a wall? When we were told it wasn’t an affordable option I thought some more. I decided that moving our refrigerator was the best option given the space and boy, am I ever happy that’s what we did!
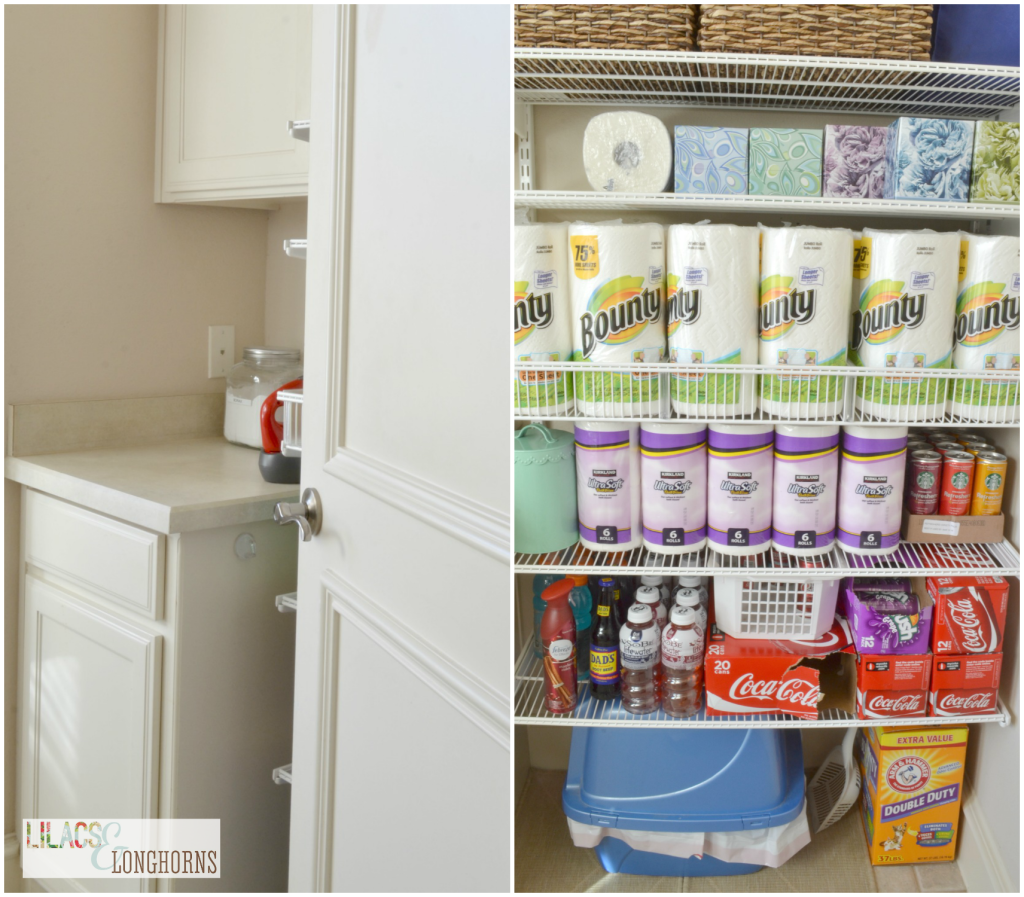
Moving the fridge and installing shelving solved so many issues I had with the space.
5. Make it easy to access
This is a HUGE point. I am a big believer that if you cannot easily access it, you will never make the effort to put it away. This is how messes and big piles of stuff happen.
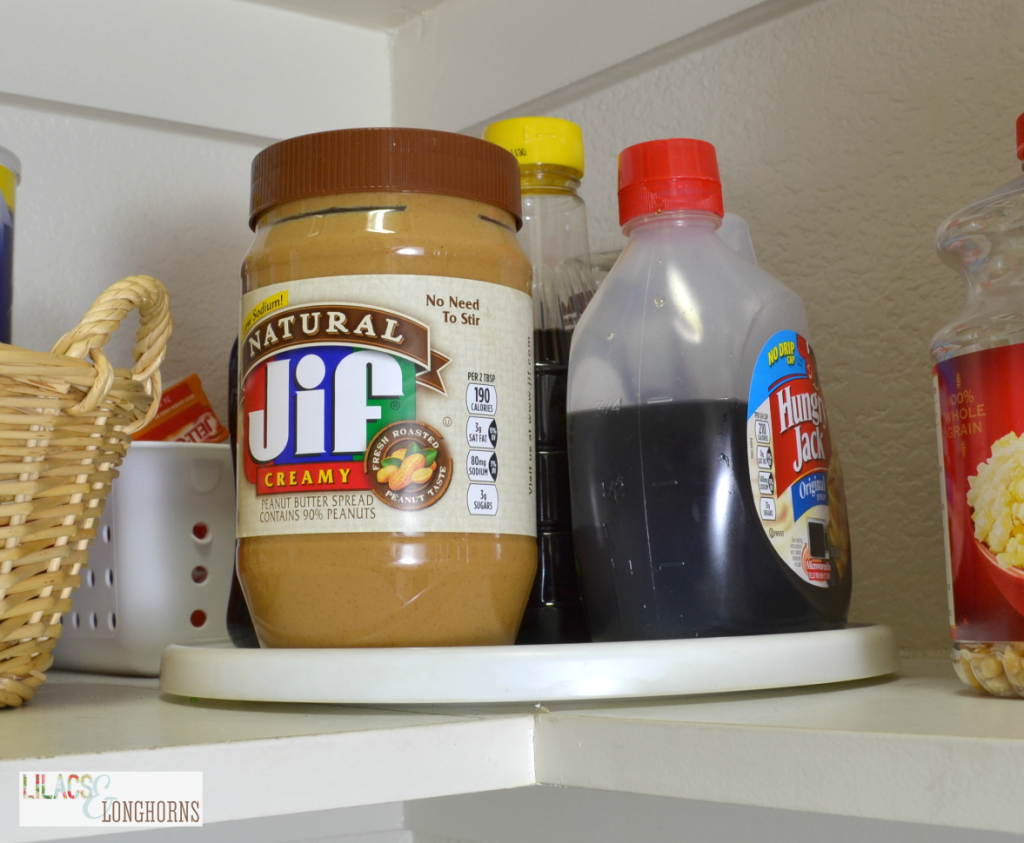
My kids can’t reach the back of this shelf, but they can reach things that sit near the edge. A simple lazy susan made all the difference in our pantry. Now they can grab the peanut butter, syrup or honey with no problem now that they can just give the lazy susan an easy spin.
Also, don’t place something up high or in the back of a deep shelf or cabinet that is used frequently. Save those spaces for things that are only accessed occasionally. And, again, make it as easy as possible to put away.
6. Use Bins, Baskets and Organizers
My husband rolls his eyes when he sees me coming home with another bin or a basket. We have a million of them and he thinks we couldn’t possibly need another.
The cabinet is above our fridge and its DEEP (it’s counter depth) and I cannot reach way in the back of the very top — even with a step stool.
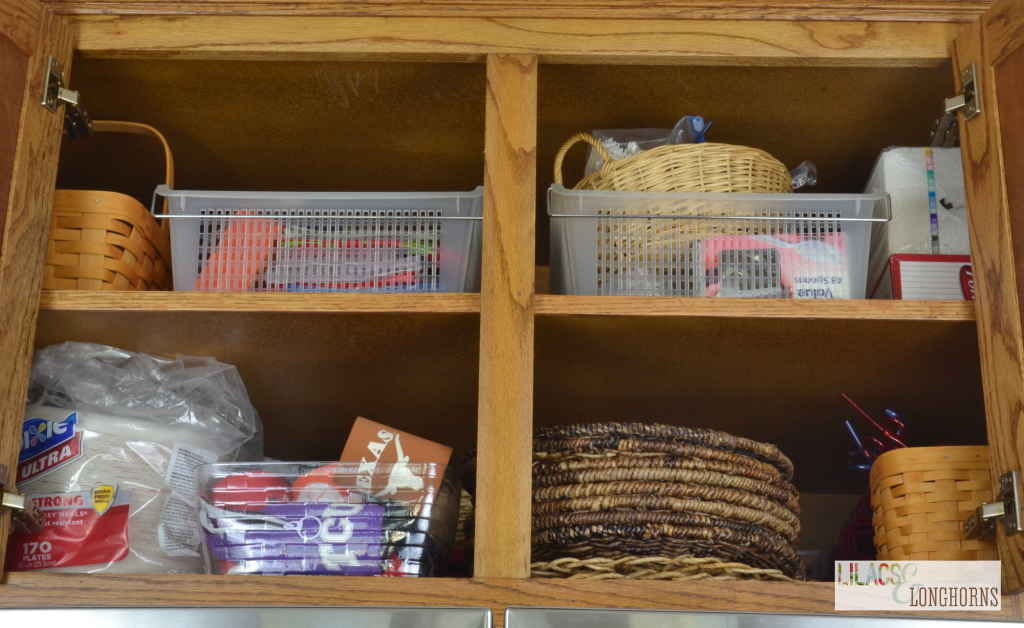
I decided to use long bins to store things like extra party napkins and plastic utensils. As a result, I can easily grab the bin and bring it down to the counter to find what I need.
7. Make it visible
This isn’t always possible because we often have deep cabinets or shelves that are up high, but this is a helpful tip for your pantry or if you buy things in bulk.
If I buy two boxes of the same cereal because they’re on sale and then stash the extra in a place I can’t see it, I will forget about it. I’ve done it. ”Oh look at this box of cereal from 1994! You think it’s still good?!”
The more you can make perishable or consumable items visible, the more money you will save.
8. Label it
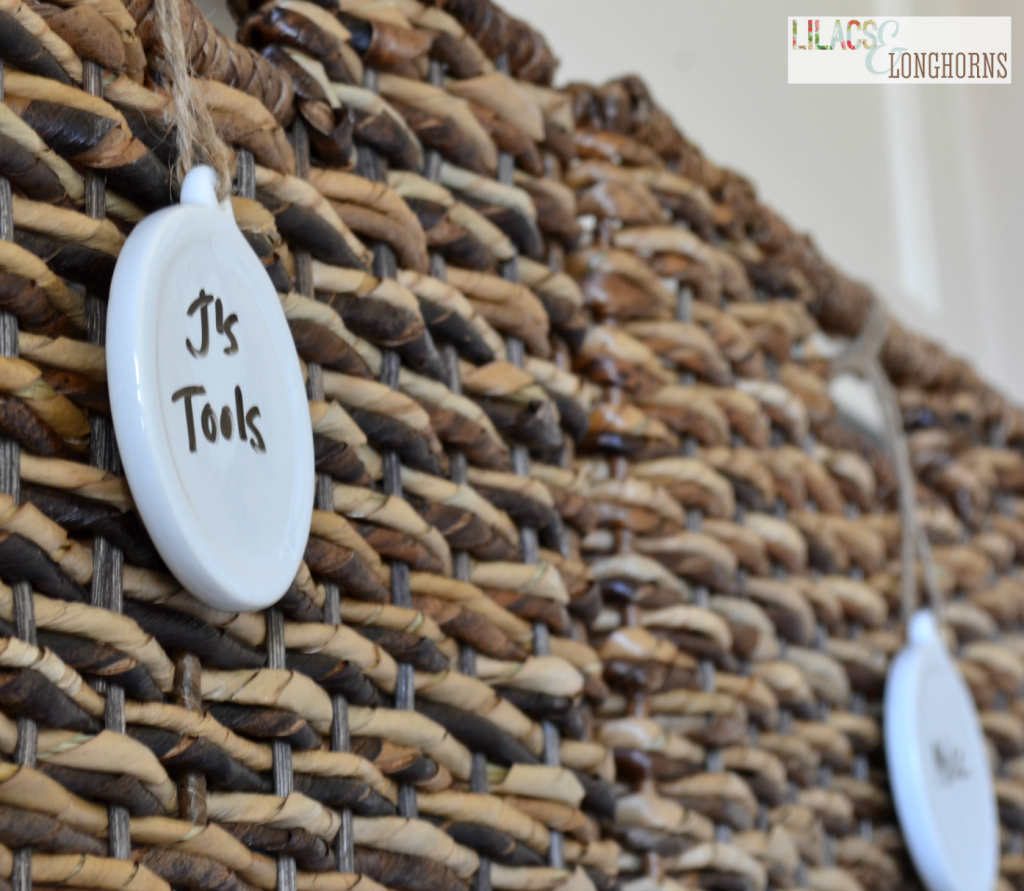
Finally, I am a big fan of labeling bins and storage spaces. Yes, I have a love affair with my label maker (which is broken, by the way and I am having withdrawals!). Not only does labeling help you remember where stored items are, it is a really big help with children. When my kids were small I even labeled their toy bins with pictures. It’s amazing how well they respond to labeled organization!
I hope you found my tips helpful!
I know not everyone is as geeky as I am when it comes to organizing, but I really think the effort is so worthwhile. You save time by not searching for things and things stay neater and cleaner looking.
Thanks for stopping by and happy organizing!
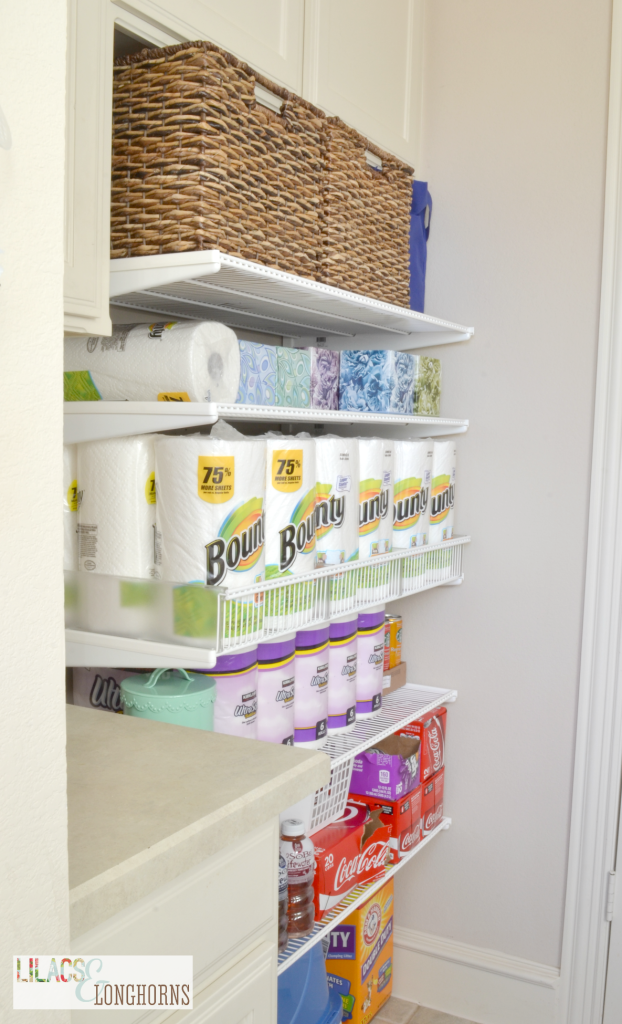










I was wondering why you don’t hang your brooms etc on the back of your door. It would give you a little more room either to decorate with a picture or a shelf. Love your ideas. Purging is something I’m not good at always think I might need it if I toss it. Any suggestions on making purging less painful?
Thanks for your comment, Ann!
I didn’t hang my brooms behind the door for a couple of reasons: 1) I hung them before we removed our refrigerator and hanging them there would have made the door swing even further in to the space which was already a problem. 2) Our doors have moldings that protrude from the door and they would not lie flat 3) Our doors are solid-core doors and my husband does not want to drill holes in to them. So, the wall was the next best option.
Yes, I agree, purging is so hard sometimes! I often think I need to keep things but, honestly, there are so many things that could be tossed. We don’t really need everything we keep. How often do you use the item? Do you have more than one? Has it expired? Is it inexpensive and/or readily available? Do you really need to keep it on-hand? When I ask myself these questions it often makes it easier to purge. Sometimes its just a matter of breaking emotional ties with an item which is a lot harder.
Happy organizing!